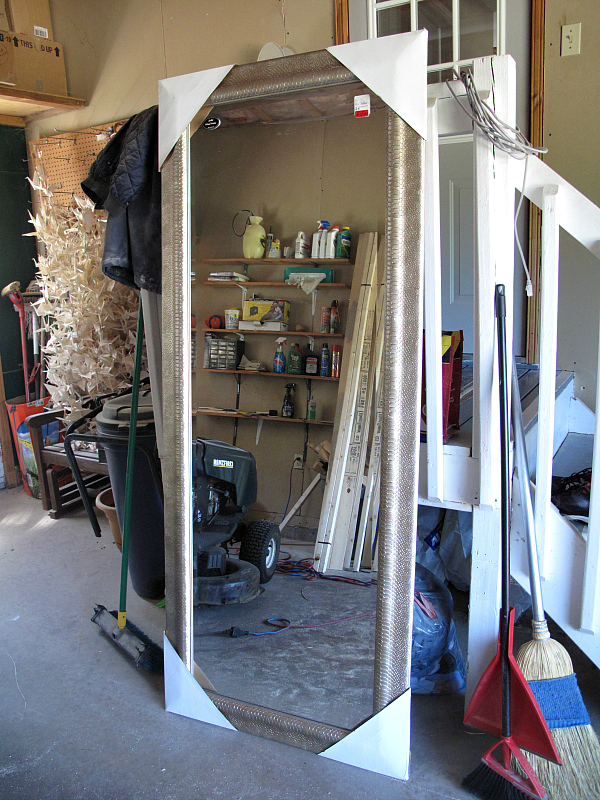
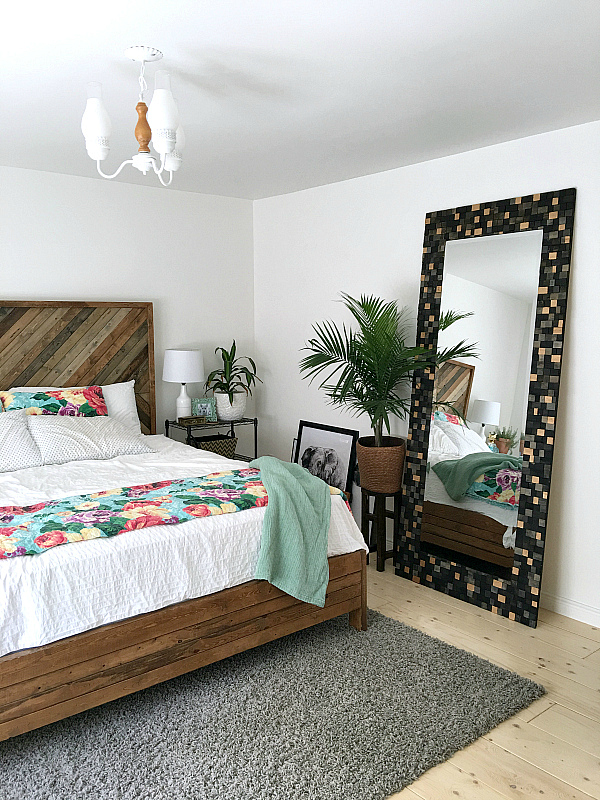
You can only look at yourself in your $10 fun-house Walmart mirror so many times before you start to question whether you actually look like a gremlin or if it’s “just the light”. I’ve been wanting a giant floor mirror (one that doesn’t make me look like I’m about to throw down with the three Billy Goats Gruff) for awhile now, so when I found a HUGE one at Winners marked down for $79.99 with high quality glass, I was stoked. I’d priced out having a piece of mirror cut to the same size as the one I found from a few local places and they all quoted me between $125 - $140. This was a huge bargain so I snatched it up and we (somehow) fit it into our car and brought it home.
The frame that came with the mirror was actually kinda cool, but it wasn’t really going to work with the rest of the bedroom, unfortunately.
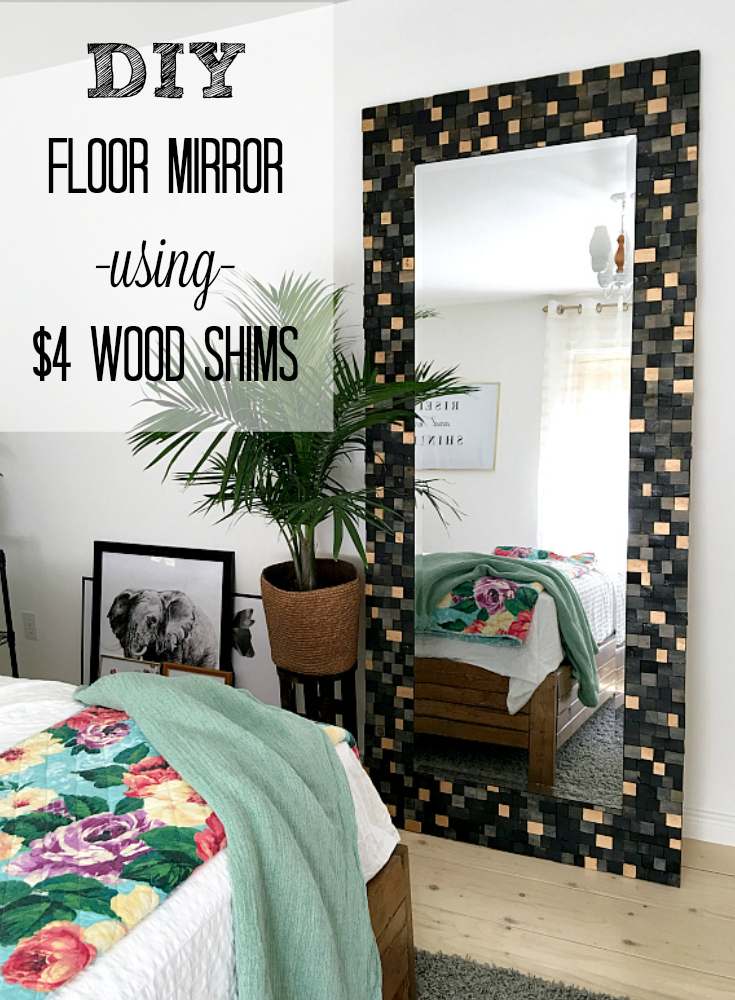
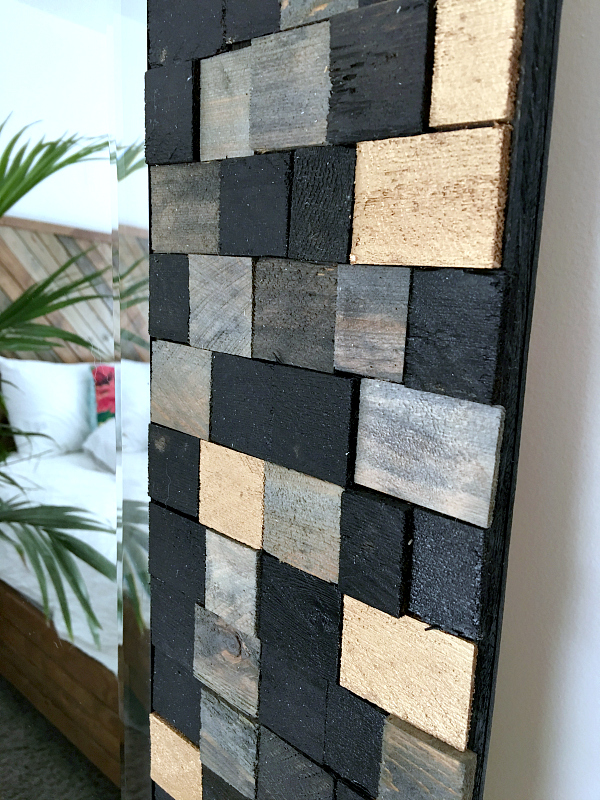
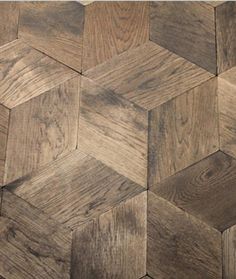
I thought about it for a while, and came up with an idea to frame the mirror using inexpensive cedar wood shims from Home Depot, cut into tiles and stained/painted a variety of hues.
This was a time consuming project, but I spaced it out over quite a few weekends and it didn’t seem all that bad!
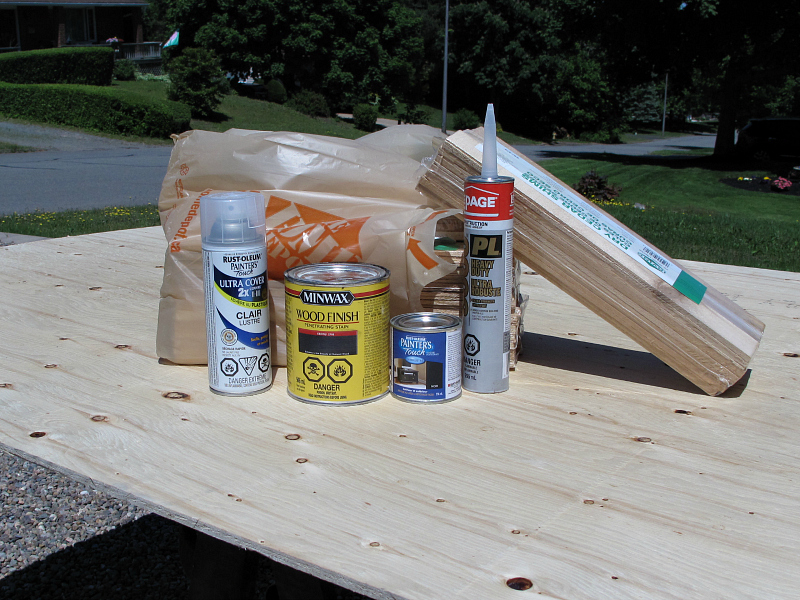
What you’ll need:
Mirror (whatever size you want)
Plywood (enough to act as a frame for the mirror)
Two packages of cedar shims (I got mine from Home Depot)
Wood glue
Brushes
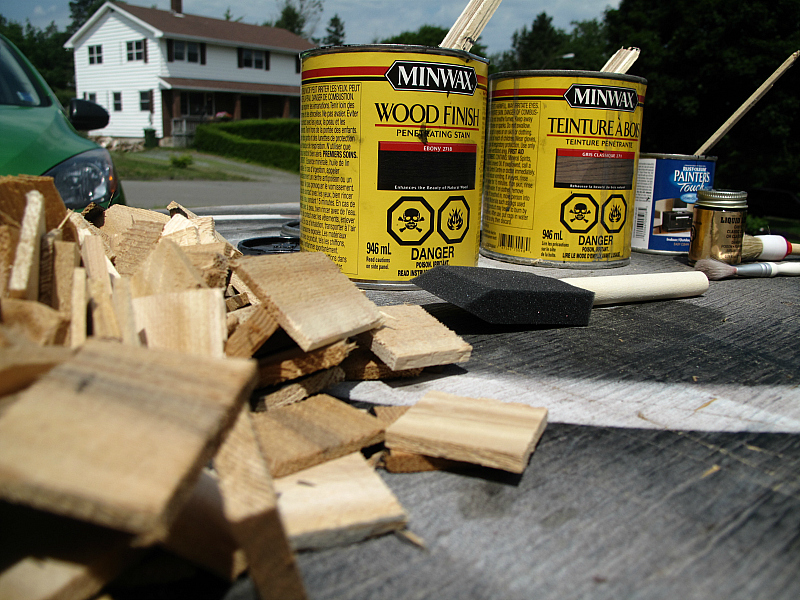
Stain (I used Minwax Ebony and Classic Grey)
Paint (I used Rustoleum high gloss black paint)
Liquid leaf (I got mine at Michael’s for a steal when it was on sale!)
Spray paint (optional — I used some black stuff I had in the cupboard)
PL9000 construction adhesive
Clear coat (I used a high gloss spray)
Mitre saw
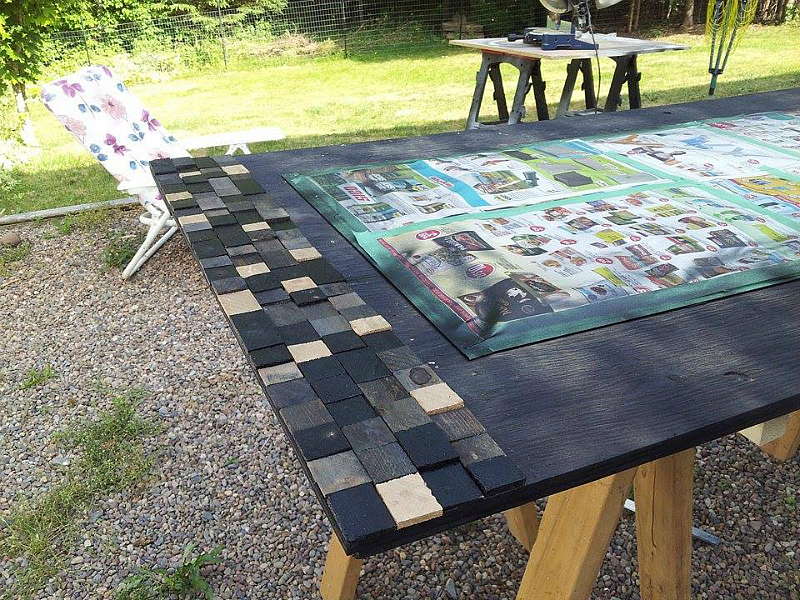
The first thing I did was very carefully remove the mirror from it’s existing frame. I rested it face down on two saw horses and gently extracted all the staples and took off the cardboard backing that was keeping it in place.
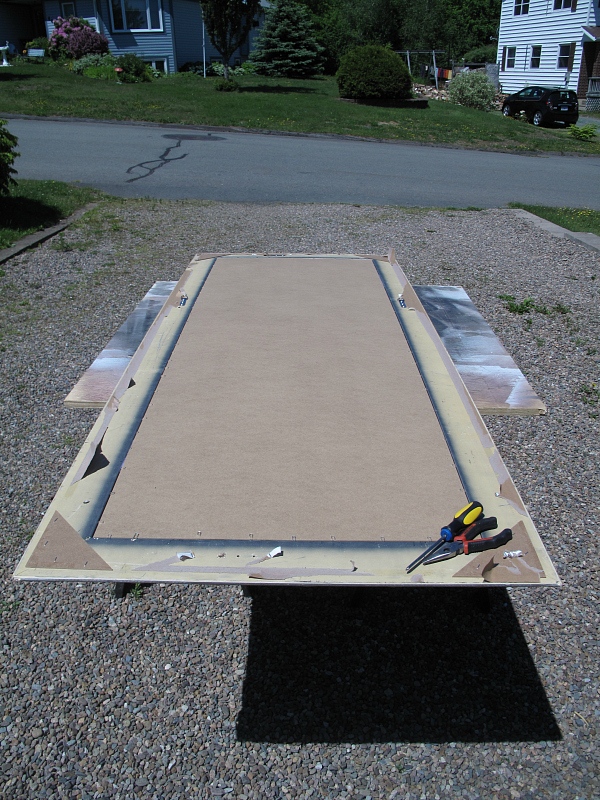
I then decided how much edge I wanted around the mirror, and cut my sheet of plywood to size accordingly. If you don’t have the means to do this yourself, I’m sure you could have the folks at Home Depot cut it to size for you.
Next, I measured and marked where the mirror should go in order to be centered on the plywood base, and glued it on using a liberal amount of PL9000.
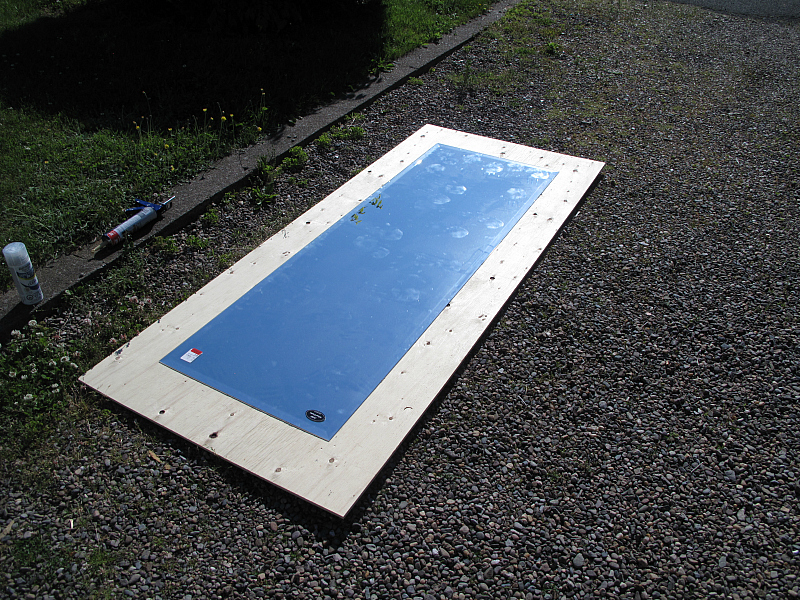
I let it dry all day, and then taped up the mirror really well to protect it while I was working.
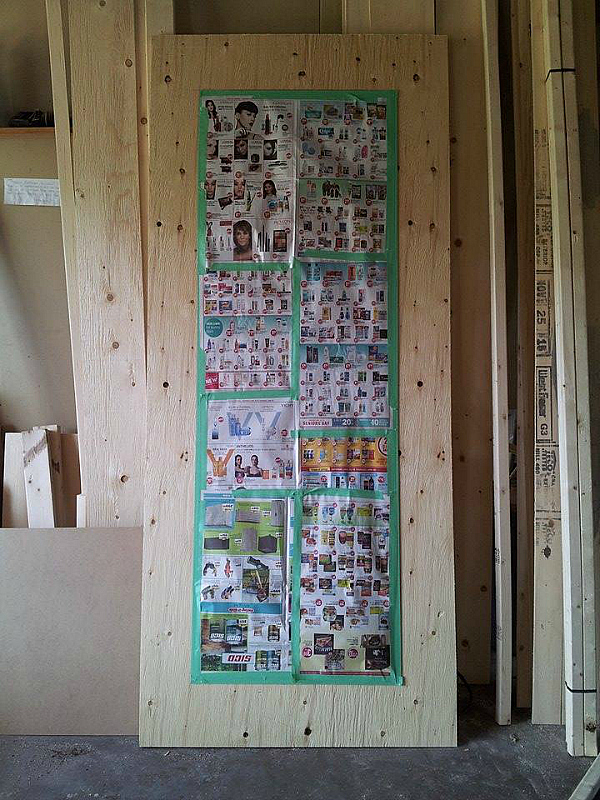
Completing the mosaic pattern around the mirror happened over the next several weekends because it was just too mind numbing to work on it for any extended period of time. I should also mention that I decided to give the entire thing a light coat of black spray paint so it wouldn’t show through the shims, and so that the edges were covered as well.
First, cut your shims into squares using your mitre saw and be very careful. If you cut your finger off, you will be really, really pissed. Also: wear eye protection — and don’t worry about getting the squares even: some can/should be rectangles, longer, shorter, and everything in between.
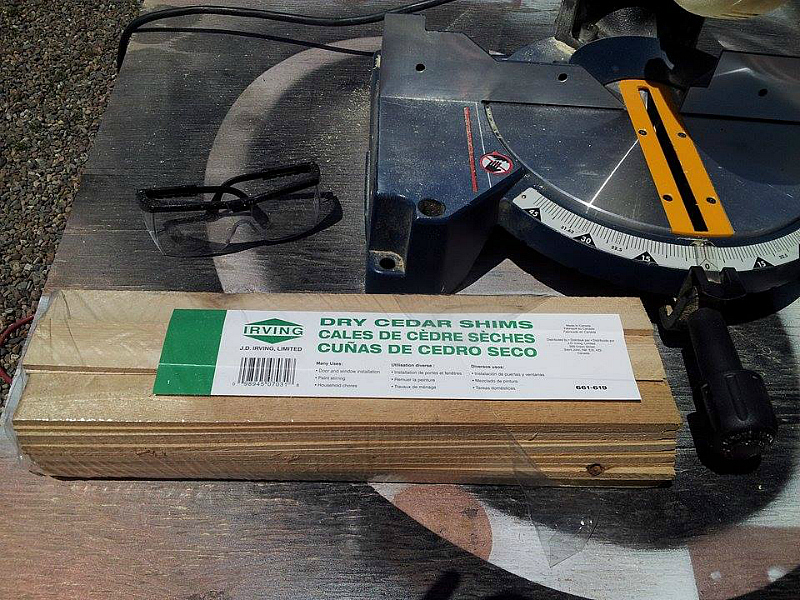
The variation in shim-shape is what makes the pattern so interesting. Throw the pieces into a box or container as you’re working, until you have a pretty decent pile accumulated. I cut my shims stacked in piles of five or six to speed things along.
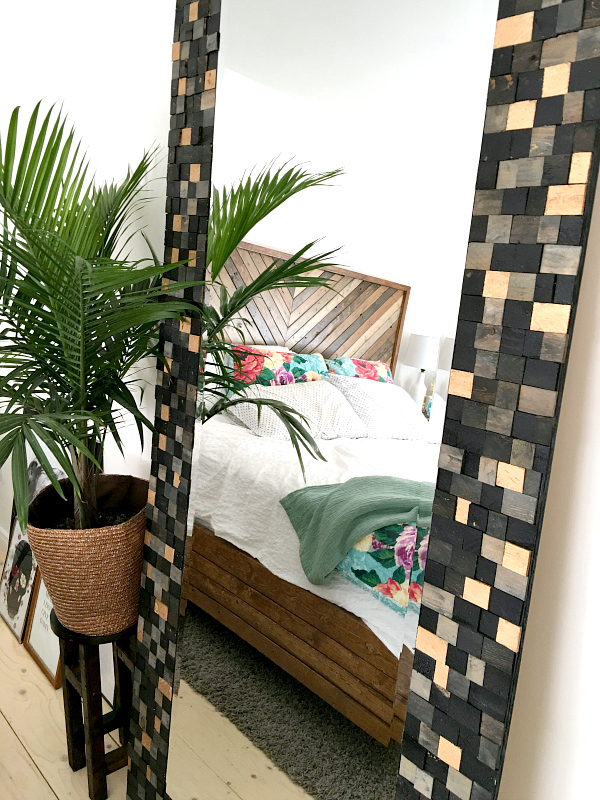
I preferred to stain/paint a ton of squares at once and then glue them on, rather than painting and staining as I went. It just seemed faster to do it this way. I used Ebony and Classic Grey, sometimes mixing the two, and always wiping them off to ensure the wood grain showed through. In contrast, the painted squares were opaque.
Applying the squares was easy; I just put a little blob of wood glue right onto the plywood and stuck the square on. Some of the shim squares are not 100% flush with the edge of the plywood, but again, this gives it a little more interest. Every so often, I would paint a shim with liquid leaf to mix it up a bit.
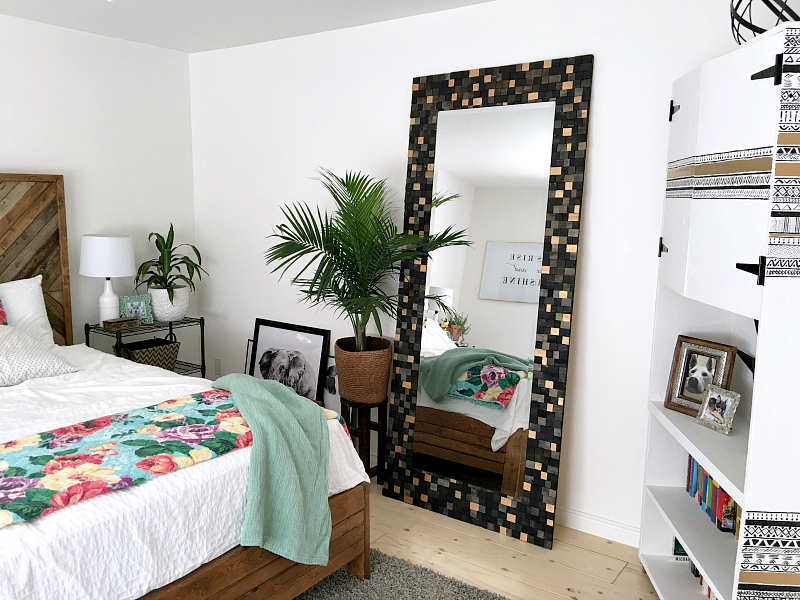
As I already mentioned, this process spanned over the course of quite a few weekends. Finally, when I’d finished staining, painting, and gluing shims all around the mirror, I sprayed it with several clear coats of poly and let it dry before bringing it up to the bedroom.
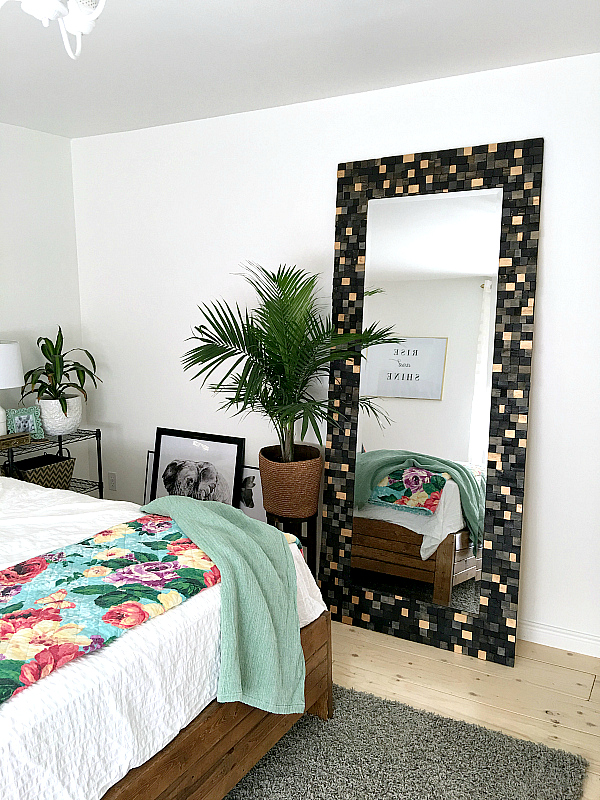
All said and done, if I’m being honest, it was a lot of work for what (for me) is kind of a ‘meh’ result. For some reason, I am not as thrilled with it as I hoped, but it is certainly growing on me now that it’s been up there for about a week or so! Plus, it is nice to look in the mirror and not see Gollum staring back at me, so…success? Maybe I’ll be a little more into it when I finally get around to hanging those pictures on the wall instead of just leaving them on the floor.

What do you guys think of this floor mirror project: fugly or cool? Let me know in the comments!


Love it!
It’s a very bold piece so I can see how it would take some getting used to.
Awesome end result!
Thanks Jenna!
Also: the elephant is going up this week — mark my words!!!