Today I will show you how to DIY a wickedly ginormous industrial pendant light from a wire basket and lamp kit for less than $70!
“But…can’t I just buy one at the store?”

Of COURSE you can, don’t be like that. But if I just went out and bought everything I wanted, this wouldn’t be much of a blog, would it? WOULD IT? That’s what I thought. I know $70 might seem a little high, but when you start looking at light fixtures they can cost a lot, especially a large scale monstrosity like this one. This was the cheapest route for me to get something I actually wanted, that wasn’t a ceiling fan.
Alright. To begin, you will need:
- Wire basket of your choosing. I purchased mine on a whim from Winners for $39.99. I know that may seem pricey for a basket, but it is really big. Like big, big. Like, the size of my crush on Ryan Phillippe circa 1998 big. If you don’t want to go spend crazy, try searching the local thrift store for something you like.
- Pendant lamp kit, like this one from Amazon.
- One three-socket adapter, like this one (also from Amazon and completely optional: I wanted the fixture to give off a lot of light).

If you don’t know much about installing a light fixture, I would suggest you either have a professional do it for you, or do some research/watch some Youtube vids. It is honestly very easy, but for the love of Buddha do not forget to turn off the fuse/power before you get started.
This was so easy: no paint, no glue, no tinkering, no nothing. All I needed were the supplies I mentioned above and the hardware that came with them.
My basket had handles on it, but I didn’t like the way it looked so I easily bent them off with my pliers. I suppose it could work if you wanted to give it that “Oh hey I’m using this item for something other than it’s intended purpose” vibe, but that usually comes off a little kitschy/hipstery for my liking (and not in a good way). Moving right along.


I peer pressured Matt into taking down the existing ceiling fan for me while I sat on my lazy rump and finished my coffee. Every room in our house has a ceiling fan and I am making it my mission to destroy them all. They are your typical builder grade, ugly AF fans that serve no real purpose because (in my opinion) it never really gets hot enough here in the summer to warrant one, and if it did, an oscillating fan will do just fine. Plus, I can shove that ugly oscillating fan in the closet when I’m done with it. Ceiling fan? Not so much.

Look at that sad sack of a ceiling fan. Just pathetic.

Anyway, I wanted the basket to be as flush as humanly possible against the ceiling, so we centered it over the hole and placed it in between the ceiling and the metal thingy that came with the pendant. That way, after we attached it, the metal plate was supporting the weight of the basket, not the pendant itself. Make sense? I took a few pictures to try and demonstrate what I’m talking about:


After that we simply wired the light and attached the pendant with the provided hardware! Done!

Remember earlier when I said there was no paint involved? Well I deadass lied right to your faces and I apologize. I did have to spray paint the socket adapter a flat black to match the pendant. I’m sorry. It took no time at all and you can disregard this step if you aren’t using an adapter!

Well here she is, in all her glory:

There is a little hole in the drywall that the pendant plate doesn’t quite cover, which is irritating, but easily fixed with a patch and some drywall mud whenever I get around to doing it. For now, I think it looks fine and you can’t really tell unless you’re really scrutinizing the light.
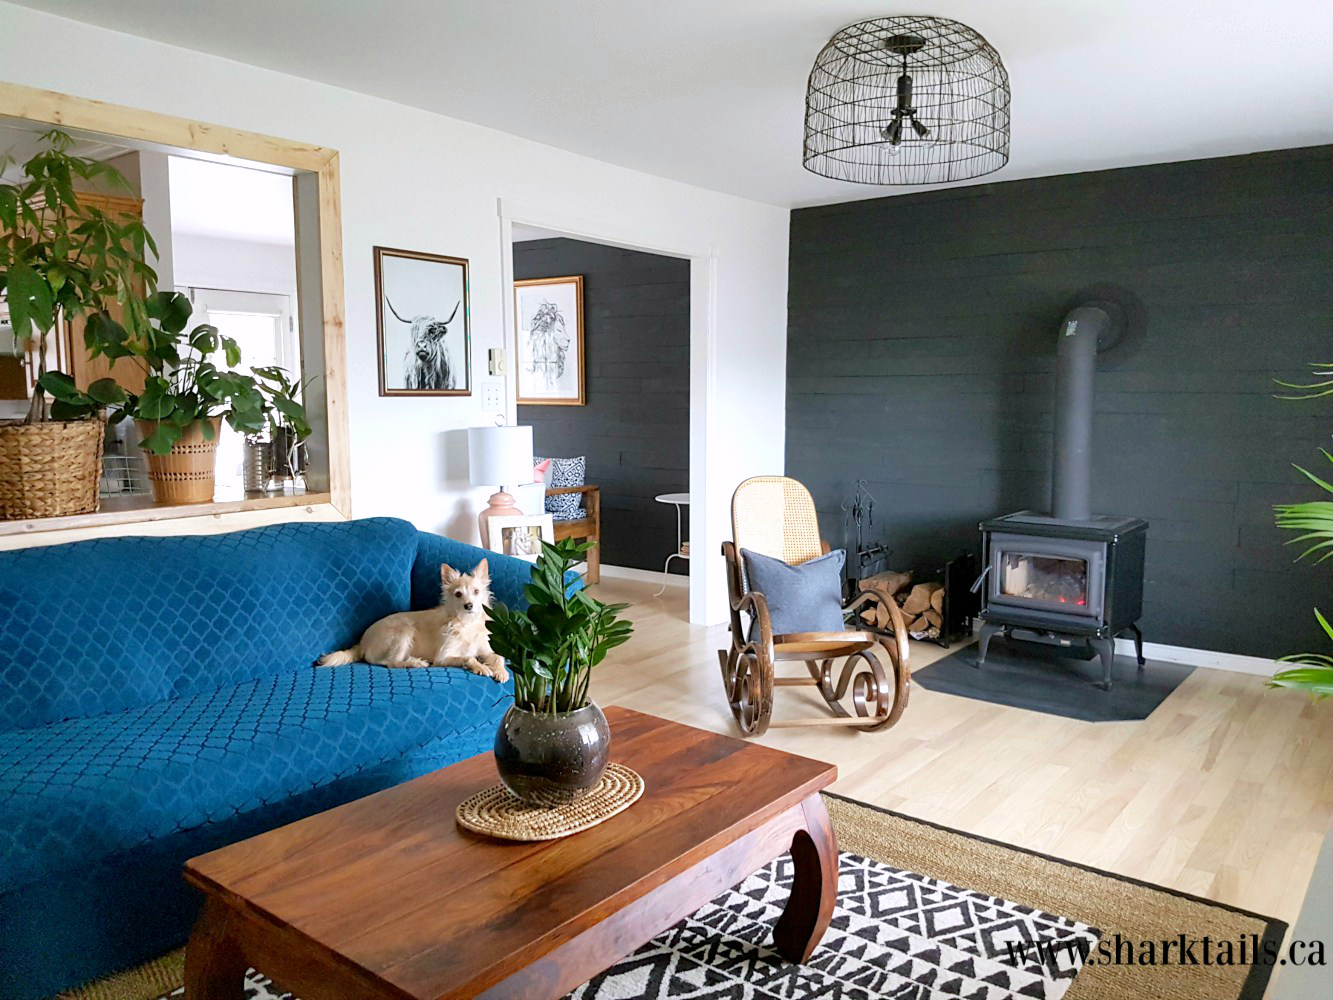
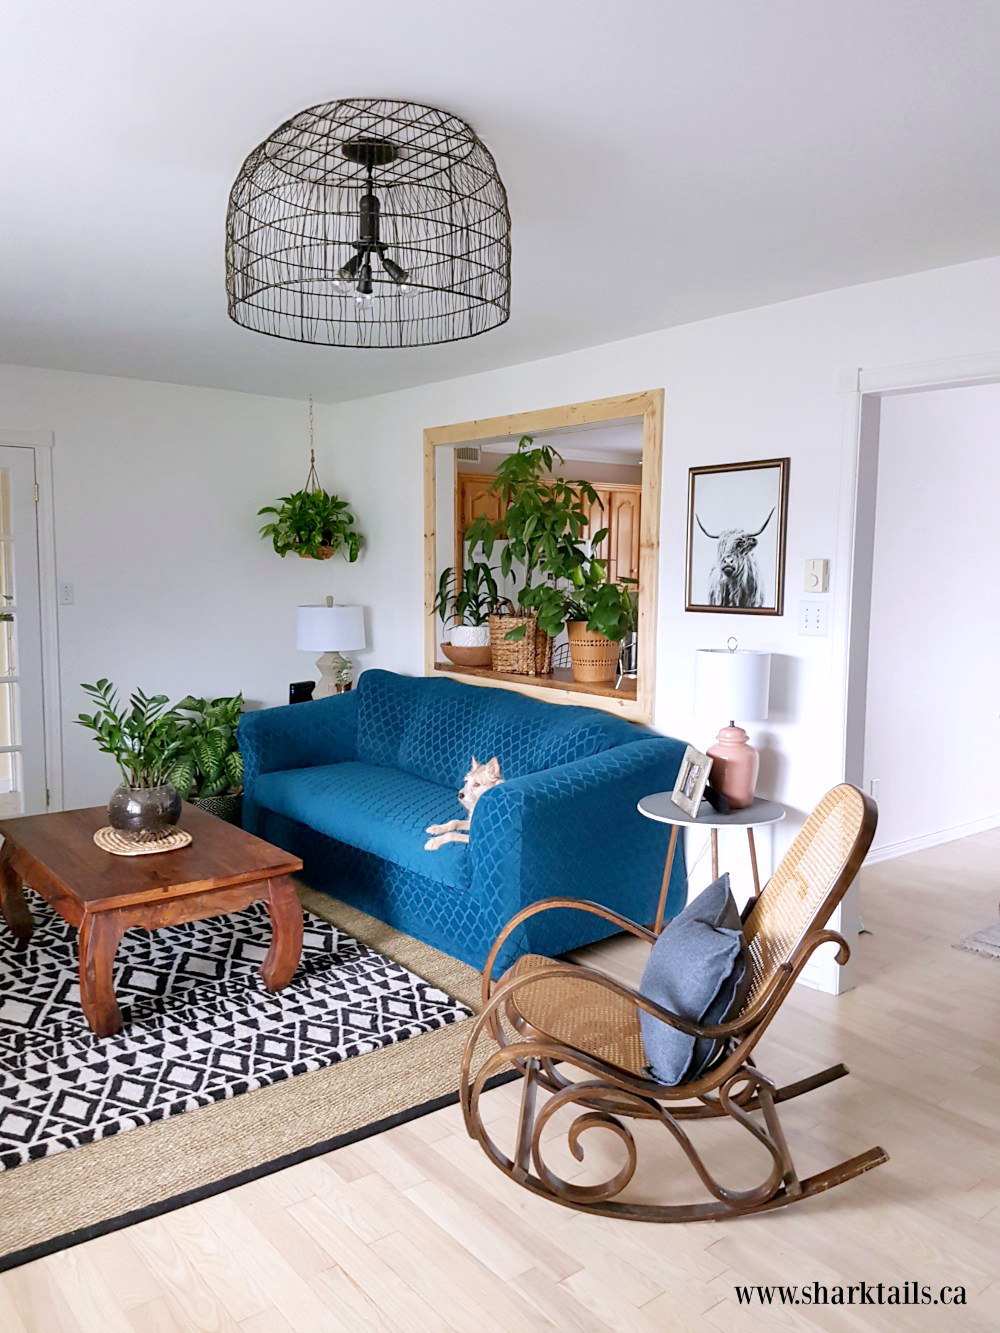
This was a really easy project and took about an hour, tops. Most of that was Matt doing everything and me supervising, so really it was no bother out of my day at all, and I think it makes a really nice impact in the room versus that sad old ceiling fan:

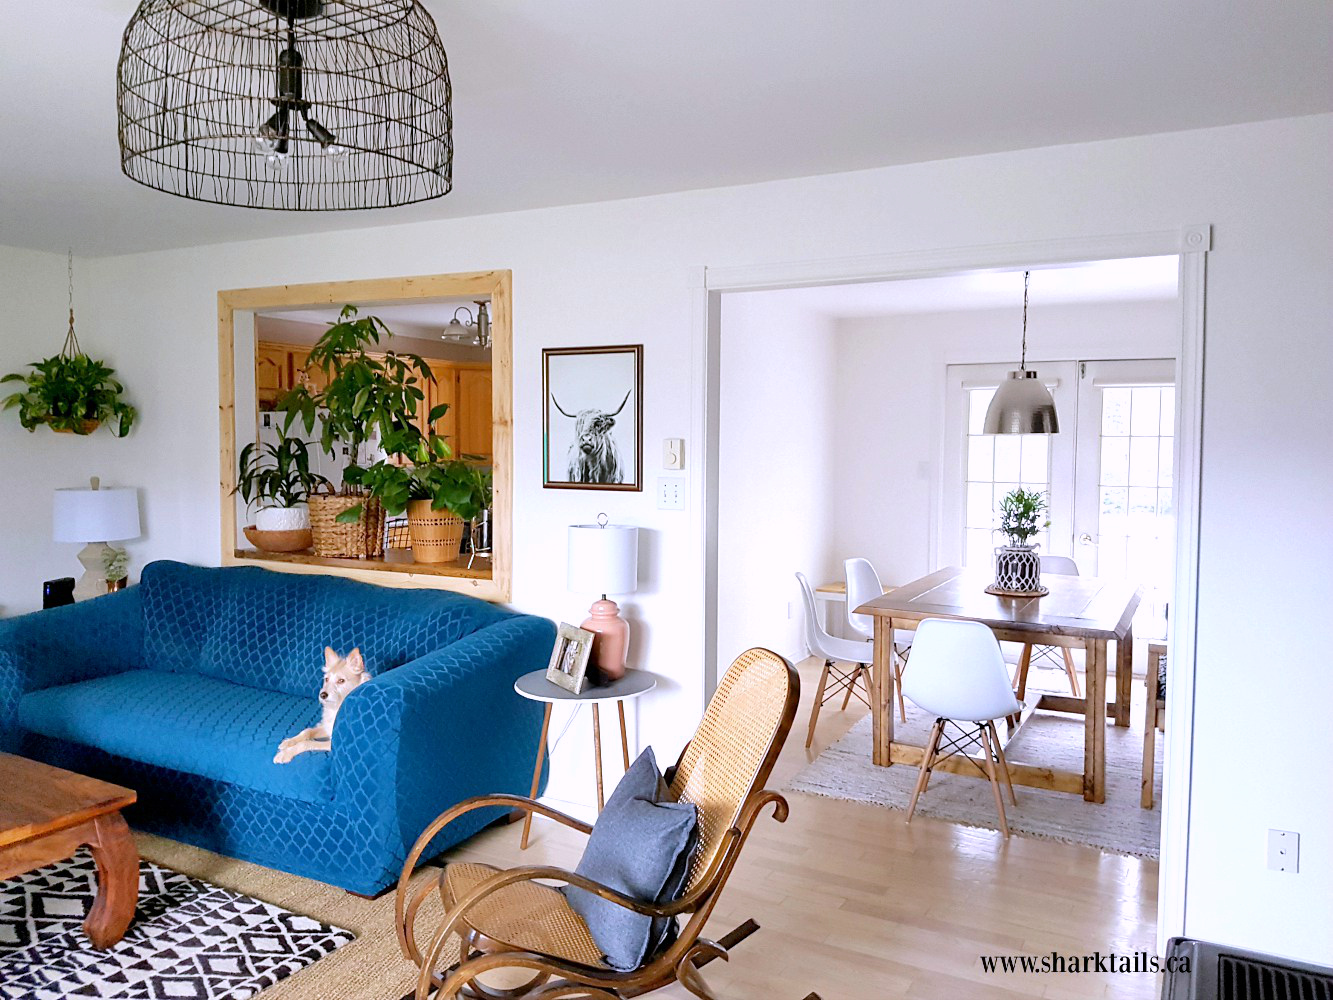
Well, the downstairs living area is really coming along. I can…not…WAIT to get my greasy little mitts on that kitchen. In case you hadn’t noticed, I lined up a bunch of plants on the bar to impede your view into that haven of ugly. It’s time to say farewell to our shrine to golden oak, and I am thisclose to convincing Matt to let me paint the cupboards. What is it with men and their golden oak? Yeah, I get that they are “nice” wood cupboards, but 1992 called and it wants its kitchen back, ya know? Wish me luck!


This room is so crazy different from the way it looked in the before photos from your floor post. It’s amazing!
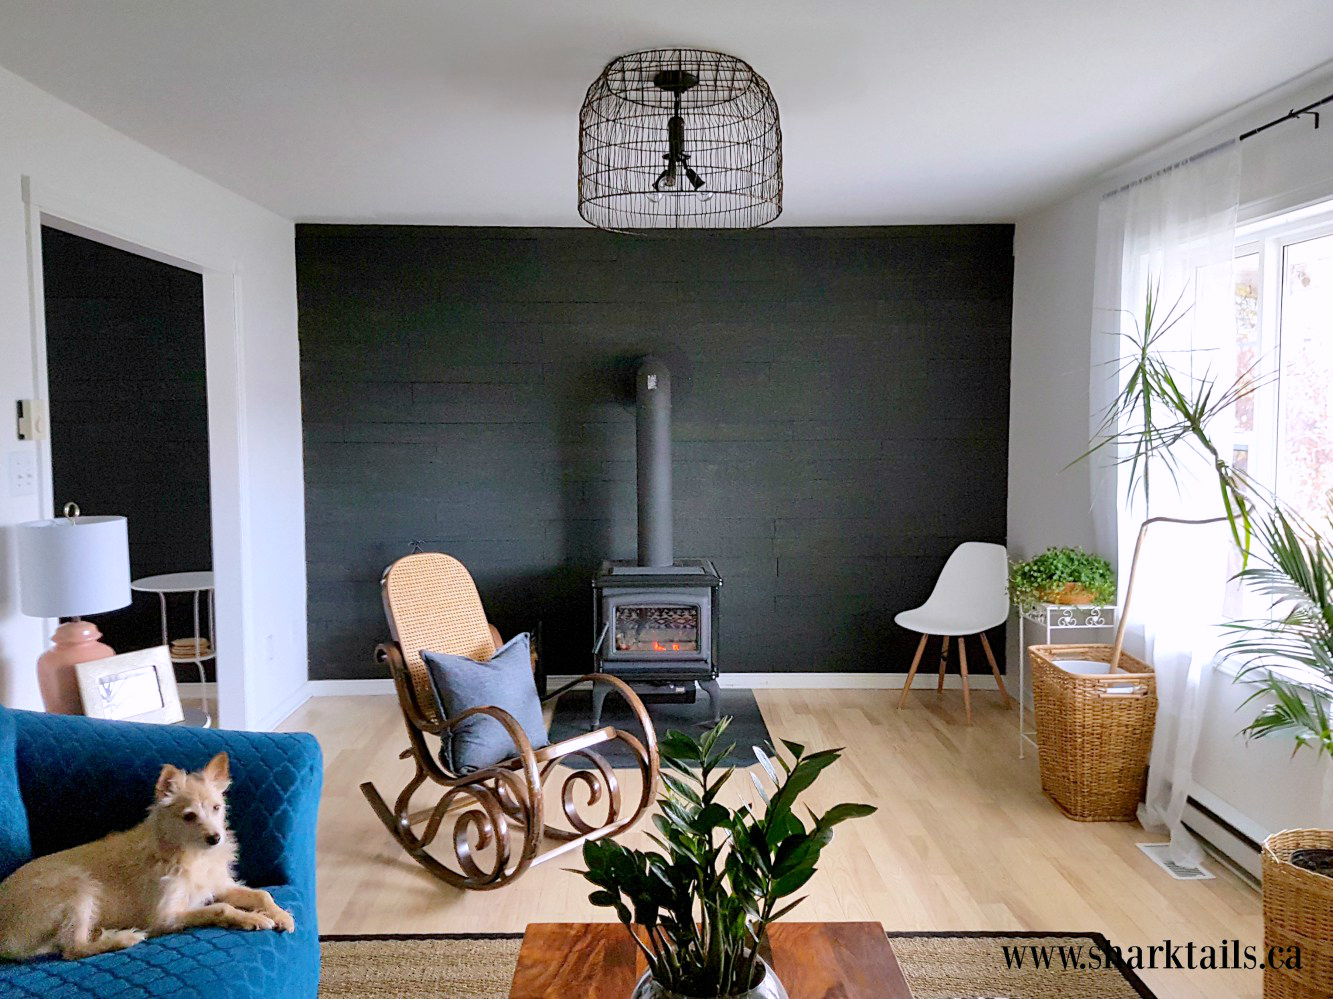
So are you going to talk about the elephant (stove) in the room??? Because I’m super interested.
I know! It’s felt so gradual so I guess I didn’t realize how much it’s changed, but looking back at it now I think it’s pretty dramatic!
Oh that stove. Or as I like to call it, the love of my life. We already had a chimney on the house that was originally intended for a propane stove set up in the basement that we will honestly never use. It gets really, really cold here in the winter, and the winter also likes to last for like, 10 months (ok maybe I am exaggerating a little). So we decided that instead of spending thousands of dollars on our electricity bill each year and not even being that warm, we’d just save our pennies and have a woodstove installed! It is amazing. We went with Pacific Energy (http://www.pacificenergy.net/products/wood/summit/summit-classic/) and the house is so roasty-toasty! Best decision ever! I am having trouble deciding what to put on either side of it, though. It’s not like a fireplace with a mantle, etc., so it’s a little awkward. I think I’ll just sit with it for now before doing anything drastic…although patience is not my strong suit.