Matt and I had been dating for about six years when he proposed, and my reaction was a 50/50 combination of “HOLY SHIT I CAN’T BELIEVE HE IS PROPOSING TO ME!” and “It’s about goddamn time.”

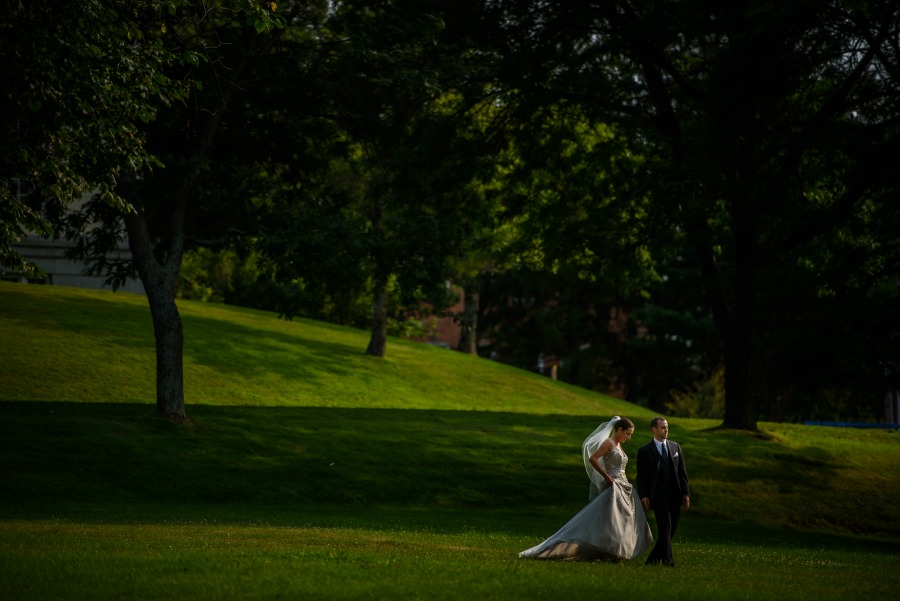
One of our engagement photos by the wonderful Krista Packer!
We’d been back in Canada for a little over a year and were relatively settled, but the thought of spending thousands and thousands of our savings on a wedding was not particularly appealing. We decided to keep it as low -key as possible and to do as much stuff as we could ourselves to keep the budget under control.
Planning
There are a lot of haters out there. “Pinterest weddings are SO TIRED and unoriginal,” they say. Pffffffft! While maybe I do agree that some trends need to die, I think that Pinterest is an excellent tool for any bride (be it a DIYer or not) to use as a jumping off point, and it played a BIG role in the planning of our own wedding. Was it overwhelming? At times, for sure. It’s hard not to want to do everything, and I did start to feel like my own day would pale in comparison to most of what I was seeing out there. Just keep in mind that as long as your day is true to you and your partner, you absolutely won’t give a shit after it’s all said and done. Repeat after me: Pinterest is not real life.
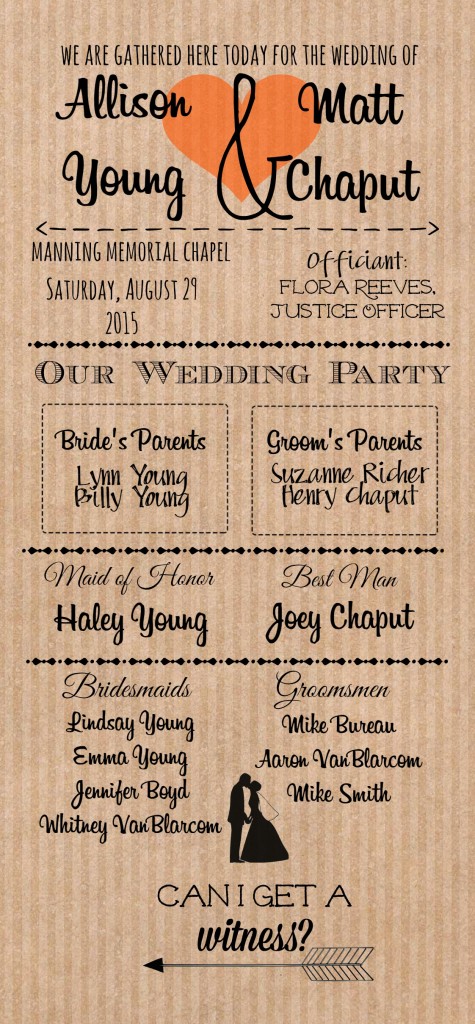
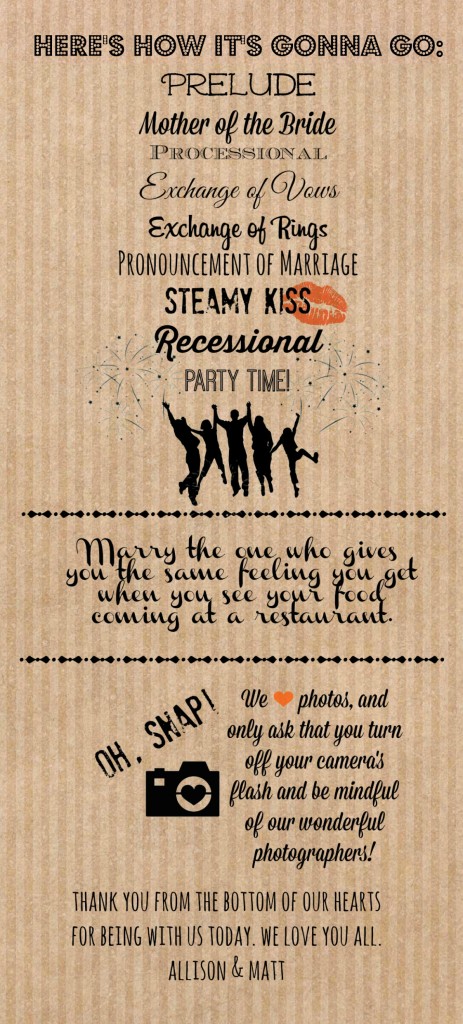
Invitations and Programs
Vista Print, Vista Print, Vista Print. Whether you want to create your own invitations or use one of their templates, I cannot recommend this site enough. They are so affordable and the customer service is insane. I loved that I could design my own in photo-shop if I wanted (I did this for our programs) or choose from their designs (I used one of theirs for our invitations). For the programs, I used Pic Monkey (which I love) to make the files and then simply uploaded them into Vista Print and placed my order. They have a great section on the site that tells you how many pixels you need to make a file in order to fit the specs of any of their products (I used double sided rack cards for our programs). SO GOOD. We saved hundreds easily using this site. (Pro-tip: Vista Print has sales all the time! Wait for the sale. It will come.)
Flowers and Tables
Flowers will eat up a budget faster than I can eat a pot of KD. (That is breakneck speed, to be clear.) They are so pretty though. We didn’t nix them altogether (I’m not a monster) but limited them to centerpieces and bouquets. I ordered 100 cream colored roses and 2 orders of baby’s breath from Costco to be delivered on the Thursday before our Saturday night reception, and I really can’t rave about them enough. We had so. Many. Flowers. Plenty for centerpieces on 20 tables, all of our bouquets (made by my sisters and myself) with a ton left over.

www.appleheadstudio.com
They were fresh and beautiful, and still perfect for the reception two days later (we put them in water as soon as they were delivered and kept them in my Gramp’s basement). They came in well under $400 (including tax and delivery) which is roughly what I was quoted by a florist just for our bouquets. It was a huge savings, and they were on point. We placed the extras all around the venue with candles.
Matt and I are very lucky that my Grampie was front and center to watch us legally bind ourselves together from now until the end of time. Sadly, both of my grandmothers and paternal grandfather have all passed away, and I wanted to acknowledge them somehow. I would not have been able to do it in my speech without crying and crying while muttering unintelligibly, which is awkward at the best of times. Instead, I made these bouquet charms with their wedding photos. There are great instructions here on how to turn off the image compression setting in Word so you can shrink the photos without losing the resolution (which was important because the photos were very old to begin with). I got my charms and diamond glaze from Amazon.

www.appleheadstudio.com
This was definitely a quieter, less obvious way to honor their memory, but they were right there with me when I was walking down the aisle, and promising to love Matt for the rest of my life.
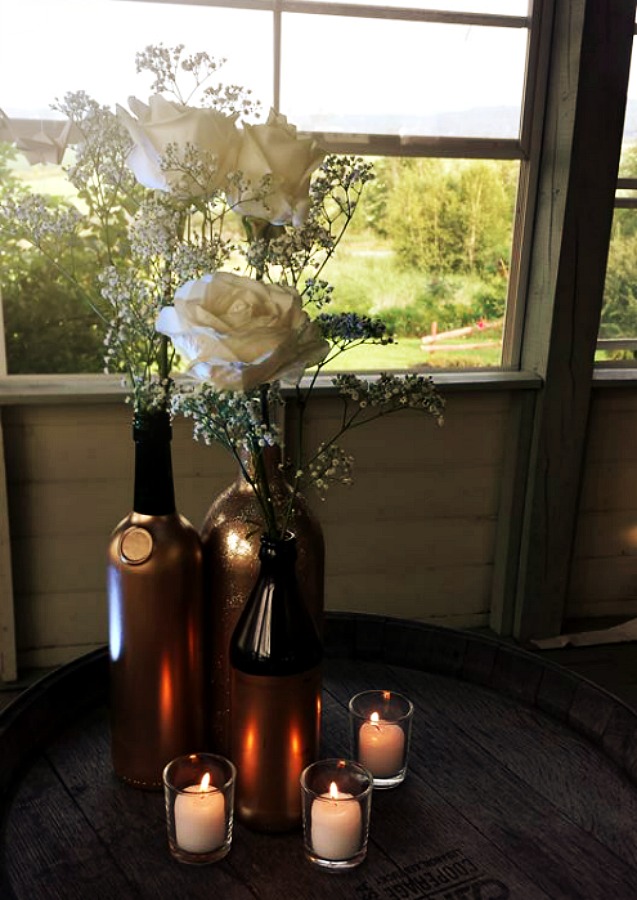
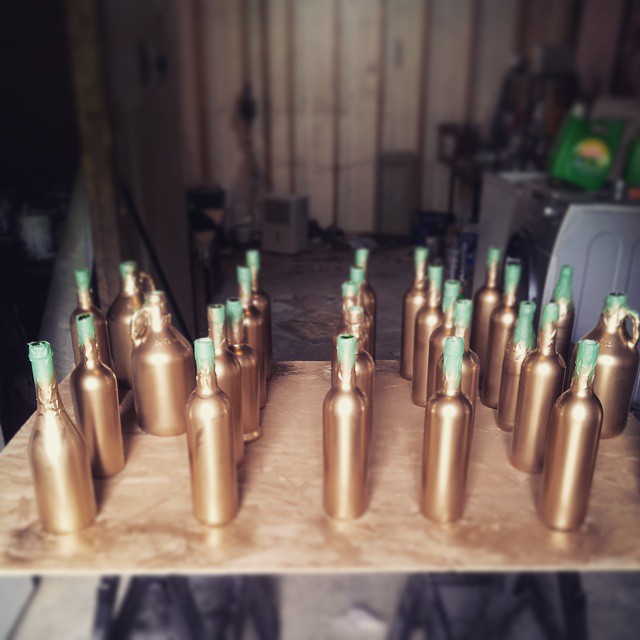
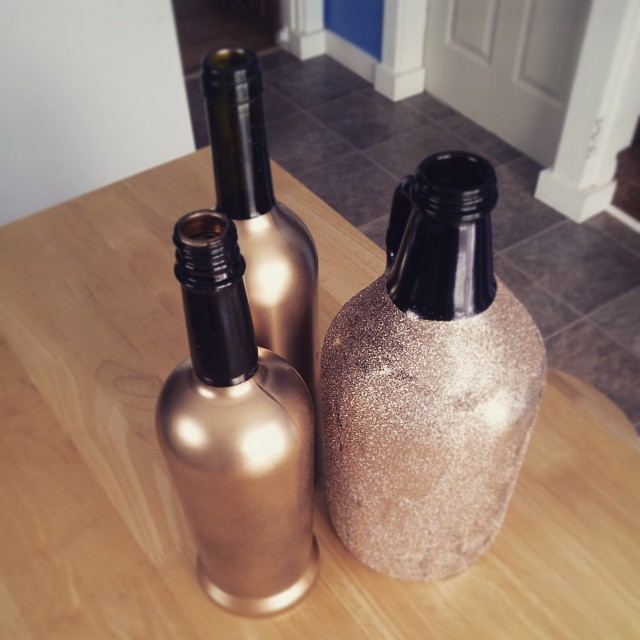
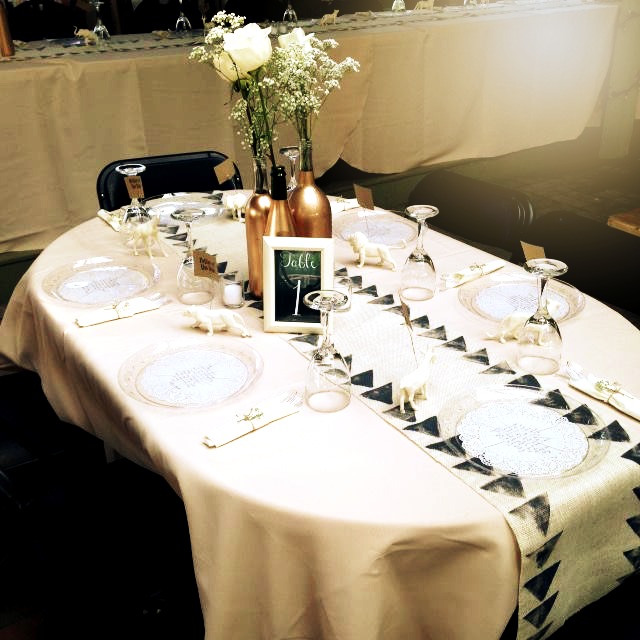
I didn’t want wedding “colors”. Not my thing, too theme-y and matchy-matchy. I just wanted a classic, neutral palate with a bit of glam. We had lots of golds, blushes, ivories, and some serious sparkle. To make the centerpieces I taped off wine bottles given to me by my wine-drankin’ friends and sprayed them with Krylon Metallic Gold spray paint. For one of the bottles on each table, my sisters helped me cover them in Martha Stewart fine glitter in smoky quartz. SO cheap and so, so pretty.
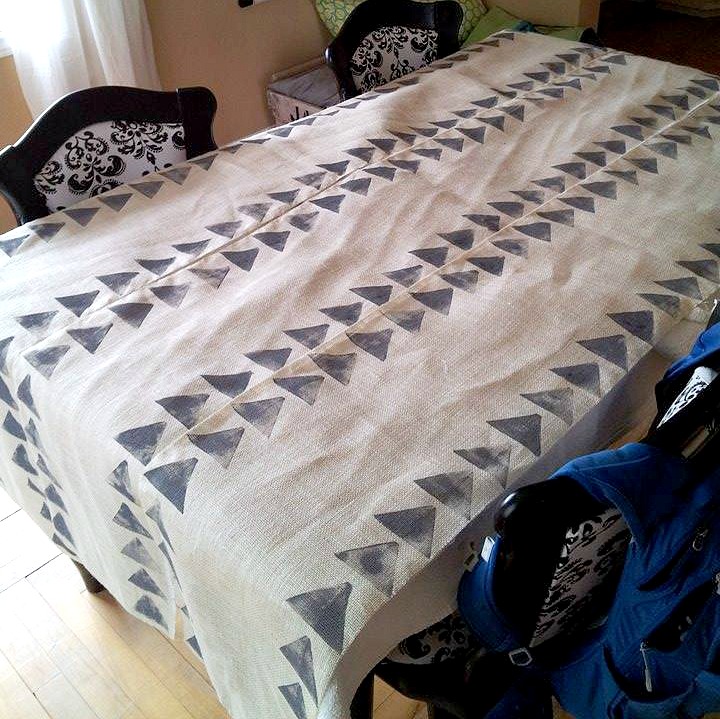
The table runners I made from burlap that I cut into 1′ x 7′ strips and stenciled with a triangle sponge in slate acrylic paint. Here is a really handy trick on how to cut burlap so that it doesn’t fray and is perfectly straight: saved my life.
For the table numbers, I made these 4″ x 6″ pictures in Pic Monkey, printed them at Walmart, and bought frames from Dollarama that I spray-painted ivory. Easy!

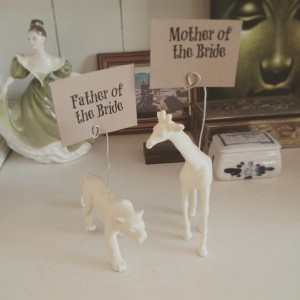
One of my most favorite projects were these little place card holders. I bought plastic animals from Dollarama (they came in packs of 6) and sprayed them ivory to match the table numbers. I drilled little holes in the tops (with a teensie drill-bit on a low torque) and used 16 gauge wire and pliers to make the curls. The paper is just standard brown paper from Michaels and I used my parents’printer for the names. (I originally planned on writing the names by hand but it looked like garbage.)

I was so happy with how the tables came together in the end. I got a lot of compliments from our guests, which is all that really matters (obviously).
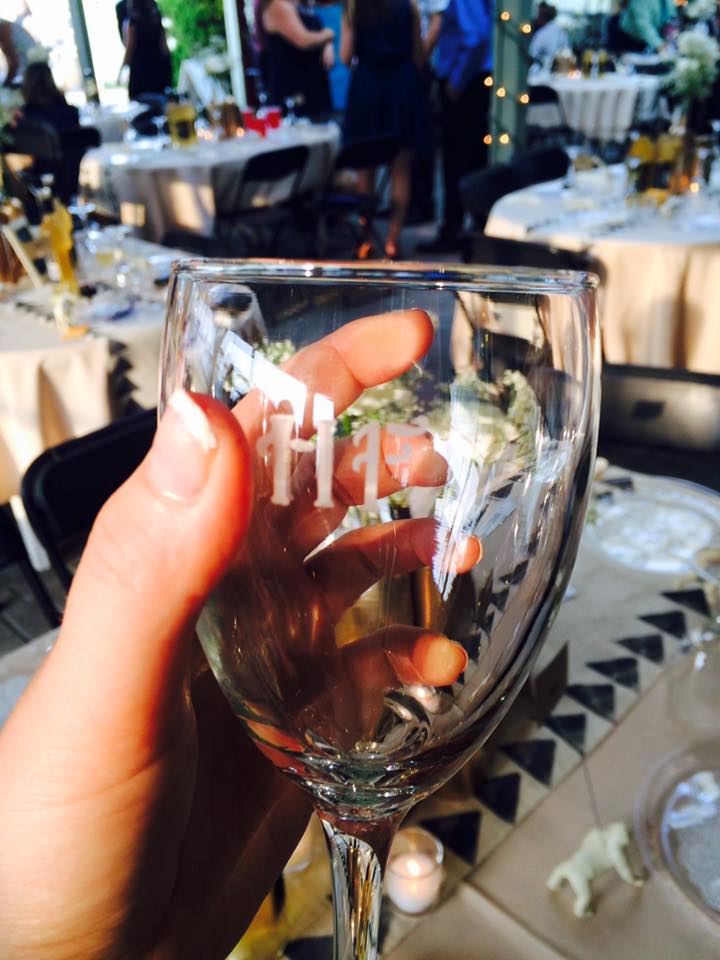
For our favors, and as part of the table setting, I monogrammed wineglasses with each guests’ first and last initials using Armour Etch Cream and these reusable stencils that I got from Amazon. It seems like a daunting project, but it really wasn’t. Every time I received an RSVP, I would do that guests’ glass. It was definitely time and money well spent; almost everyone took theirs home (those who didn’t are dead to me), so no money or time was wasted on favors that people didn’t really want anyways.
We also gave guests Polaroid pictures of themselves to take home in little manila envelopes stamped with our wedding date. I asked one of my friends to take two pictures of everyone as they were arriving with our Fujifilm Instax Mini camera and boy did she deliver.
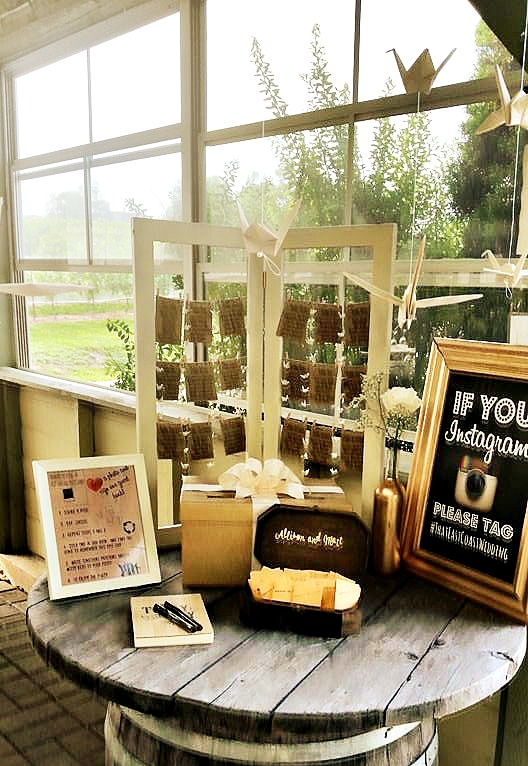
The next day, when I was in deep post-wedding depression, going through the guest book and looking at all of the people I love most smiling at our wedding and reading their witty remarks was like snorting six rows of cocaine (I’ve only ever done four so I can’t be 100% sure). We had everything stationed on a big wine barrel just inside the door.
Decor
For behind the head table, I made an 18′ long bunting out of different fabrics cut into strips. I chose pretty cheap stuff that was on sale at Fabricville, but splurged on some lace and sequins to fancy it up a bit.

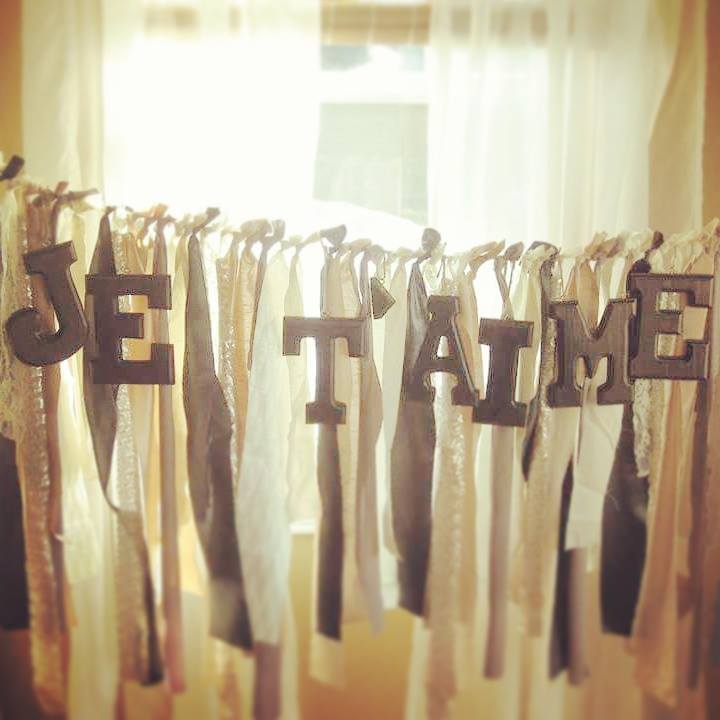
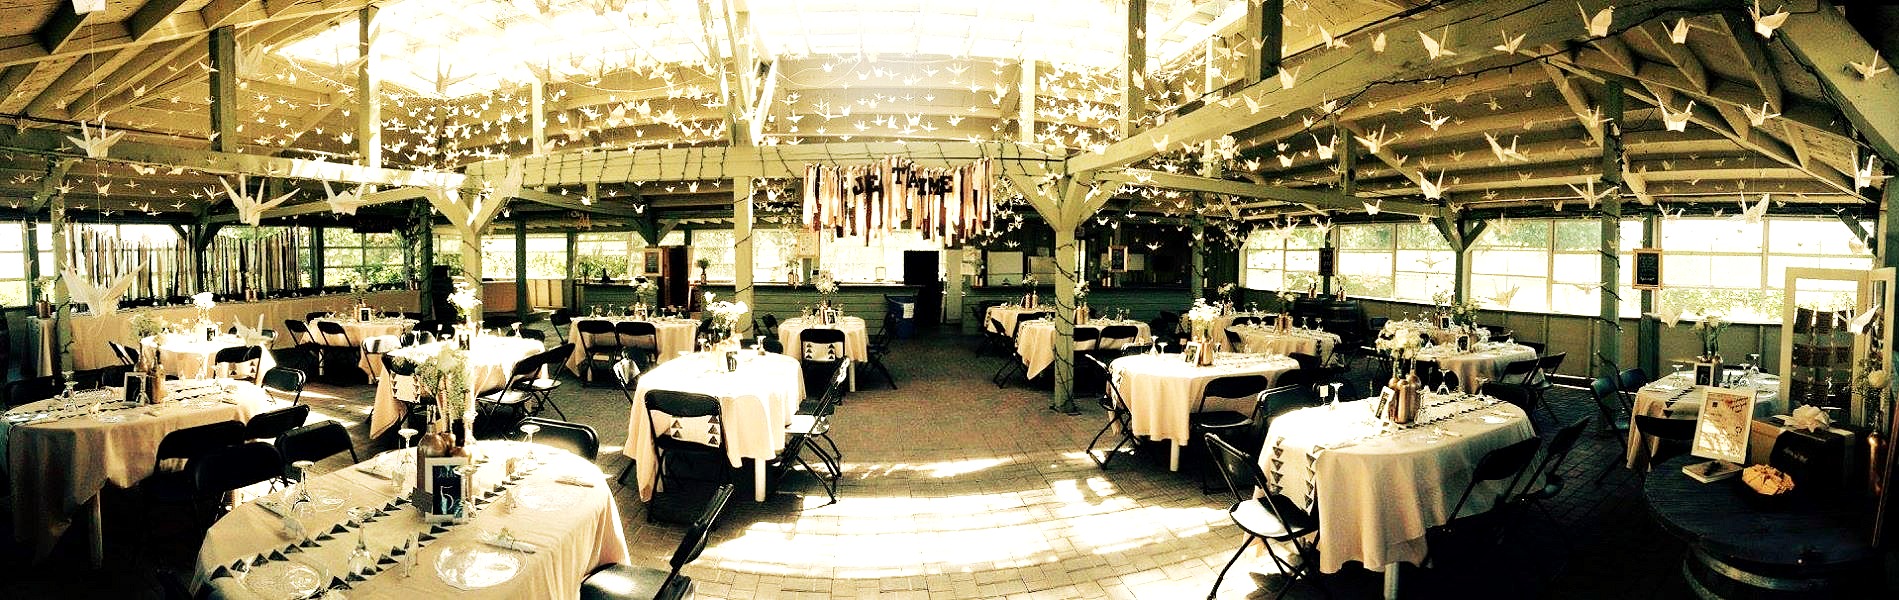
With the leftover scraps, I made a smaller bunting with the words “Je T’aime” spelled out in wooden letters that I bought at Walmart and stained using Minwax Dark Walnut.

www.appleheadstudio.com
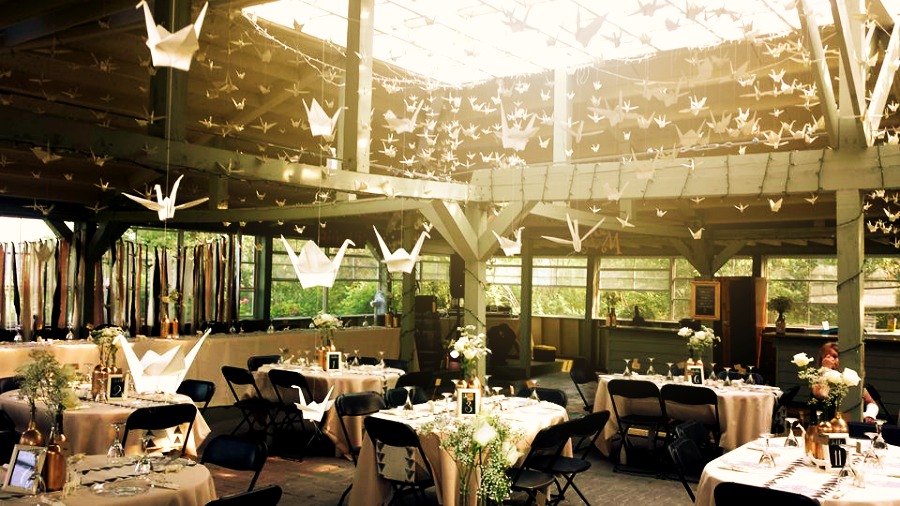
Since we were way skimping in the flower department, I needed something to take up the empty space. I got it in my head that I wanted to fill the venue with paper cranes, so that is what I did. I used some sophisticated mathematical formulas guesswork and figured out how many I would need to really make an impact, and came up with 2,500. So I folded 2,500 cranes. It took me 2 months. I used legal sized (8.5″ x 14″) printer paper in ivory, which gave me two cranes per piece: one little and one big.
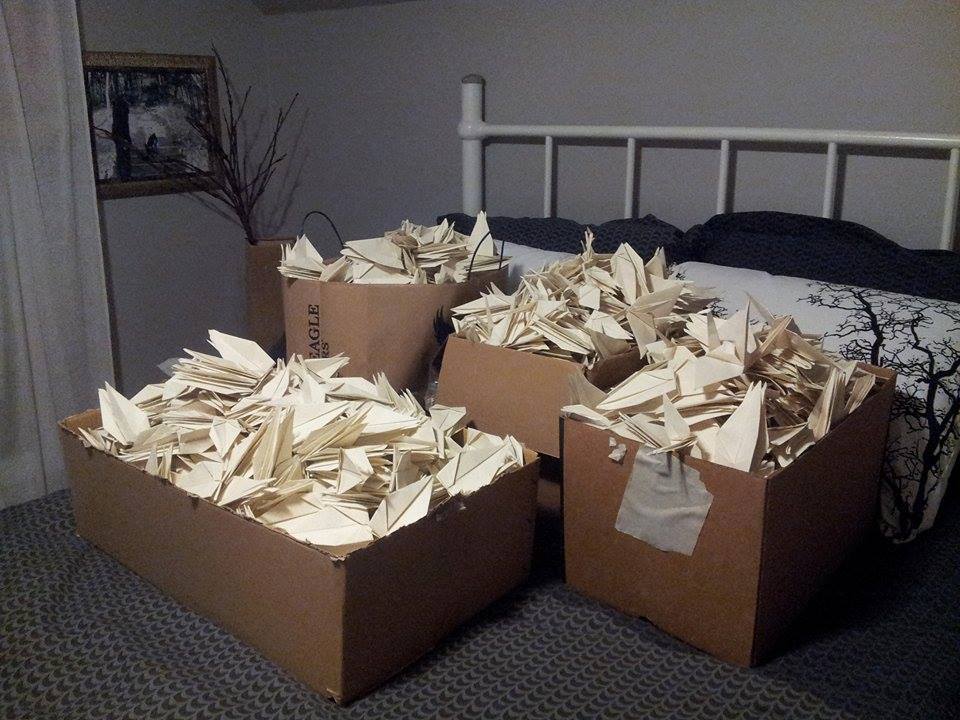
I kept them all in boxes and didn’t “open” them until I was ready to string.
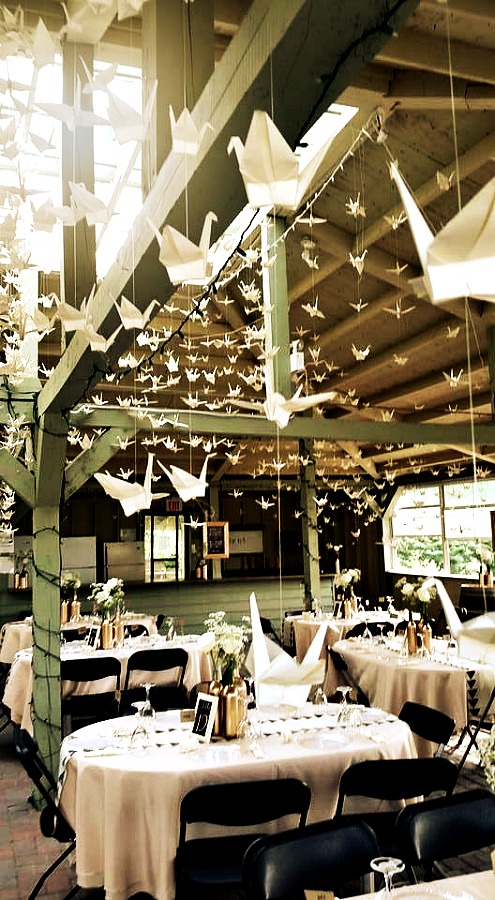
To string them, I cut lengths of twine between 20-22 feet and tied one end to the curtain rod in my living room and the other to the rod in the kitchen like a streamer. Next, I strung the actual cranes onto lengths of fishing line, feeding it through the bottom of the crane and up through the “back” with a needle. I sat them on crimping beads so they wouldn’t be stacked directly on top of one another and it worked really well. Then I tied each strand to the twine streamer.
To make sure they didn’t get tangled as fuck, I pre-tied a loop on the end of each strand, and then fed a piece of twine through to attach the loops together. They hung in our basement until the day before the wedding, when my dad and I carefully transported them to the venue where my ridiculously amazing bridesmaids, Dad, husband, and brother-in-law all helped to get them hung up in the rafters.
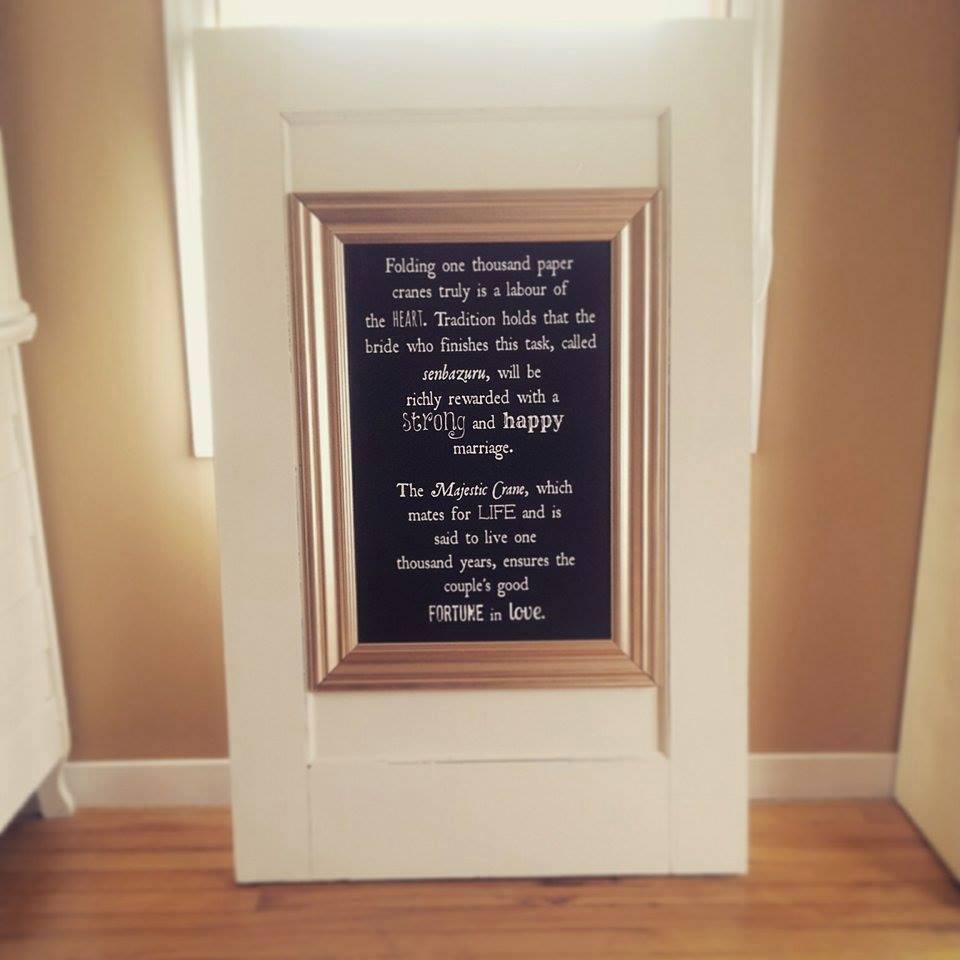
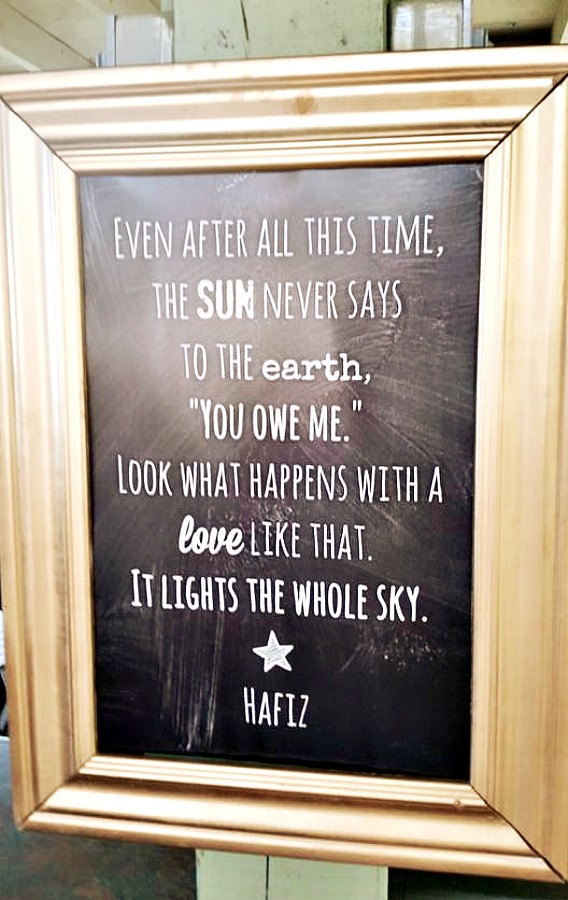
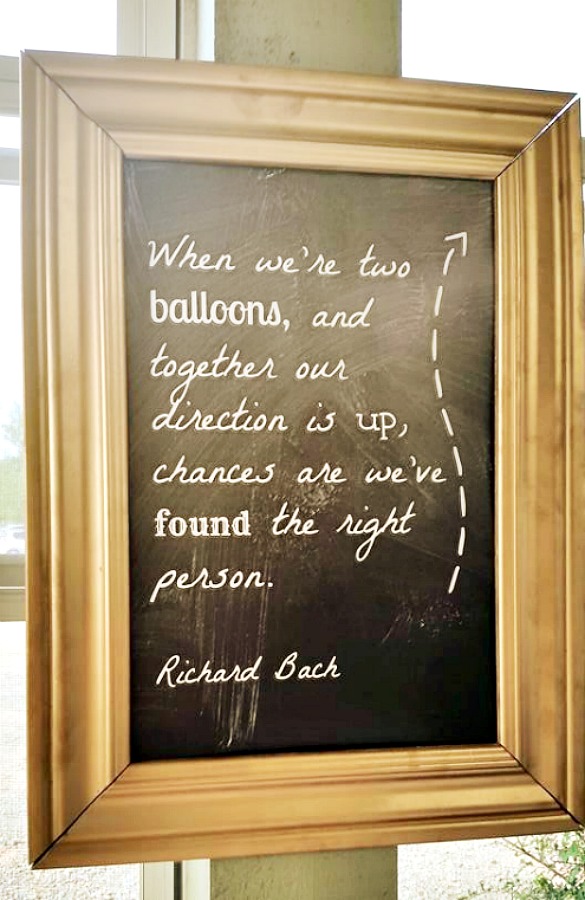
I made this sign to explain the significance behind the cranes to our guests. The file was done in Pic Monkey and I had the poster printed through Vista Print.
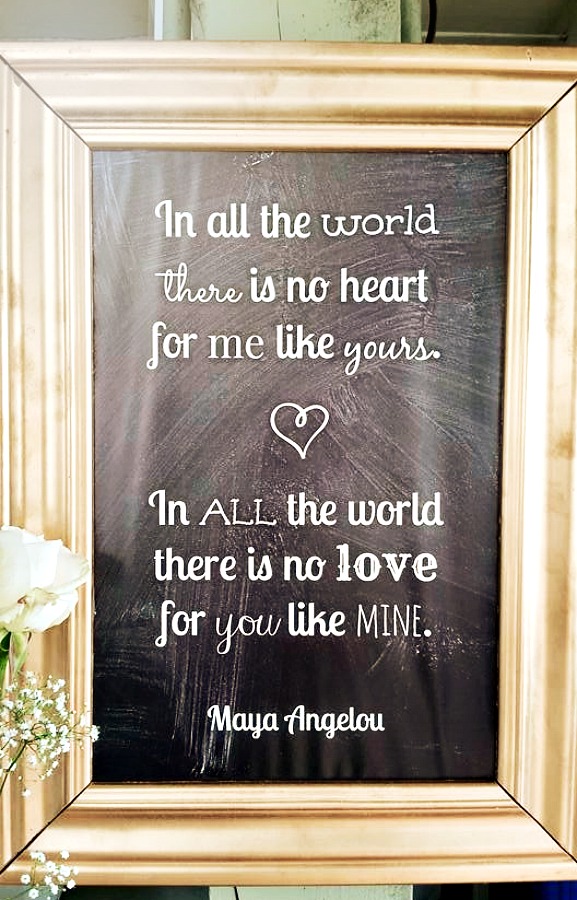
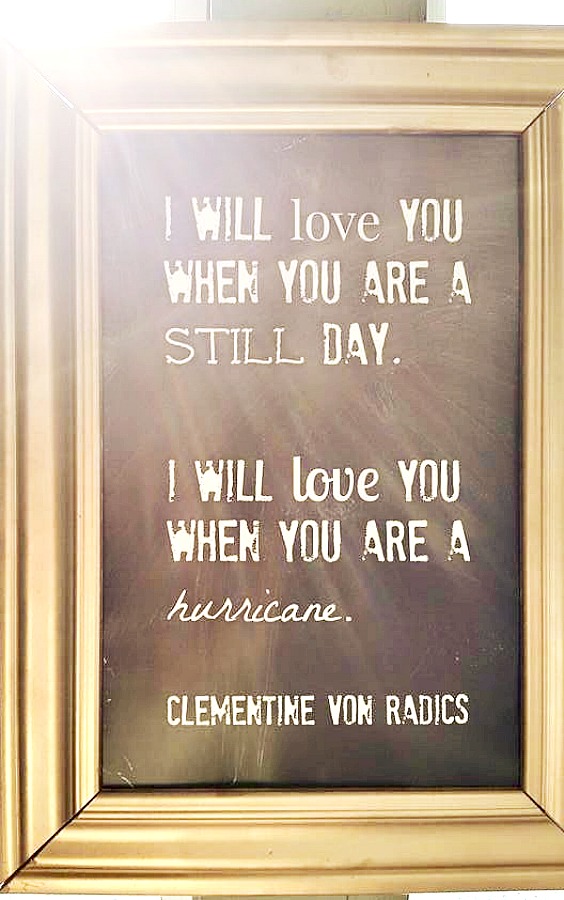
I also made some smaller poster prints with cheesy quotes about love (BARF) and hung them all around. (I did an Instagram sign with our wedding hashtag too!) The frames were made from old trim we had and sprayed with the same metallic gold paint we used on the wine bottles.
I became obsessed with having a marquee sign early on into the planning. I followed this tutorial and changed up a few things. First, I used bristol board for the sides of the letters instead of foam board. Second, I attached the letters to old fencing that I’d stained instead of a painting.

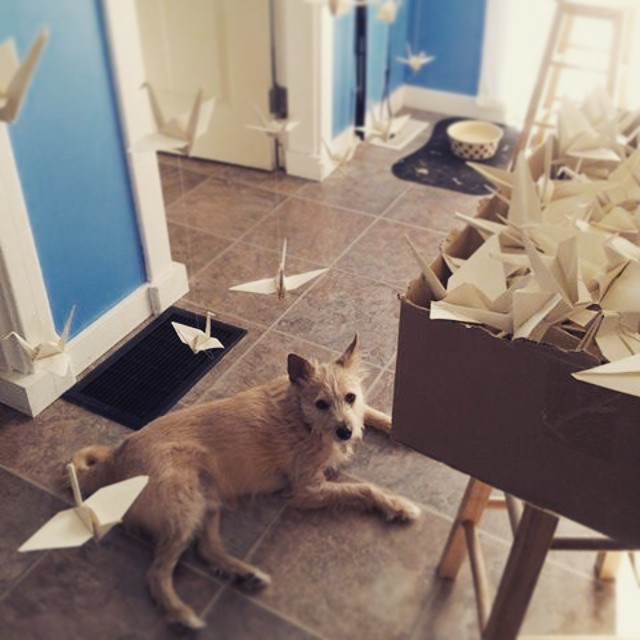
How adorable is this guy?
Actual string lights with the marquee bulbs are insanely expensive, so we used regular string lights, and glued on these clear Christmas tree bulbs that we ordered from Amazon to give the appearance of a marquee light.

www.appleheadstudio.com
Dance Floor
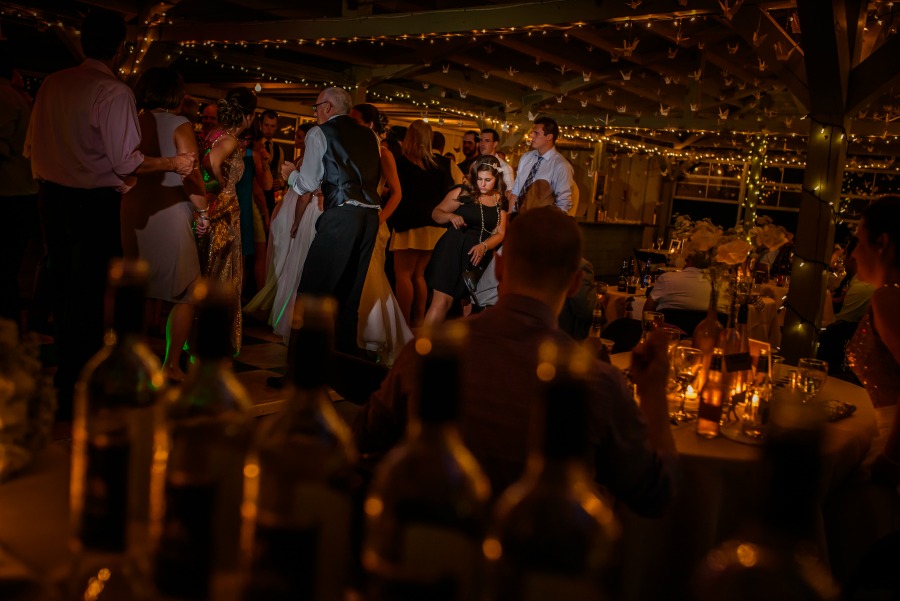
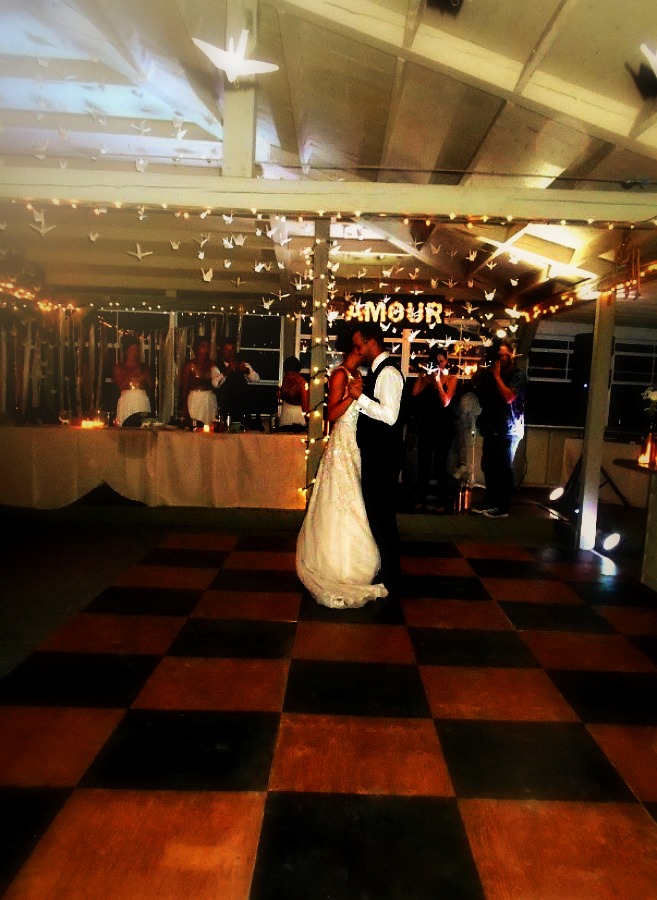
Another big-ish project we took on aside from the cranes was the dance floor. To rent one would have been just as expensive (if not more) than for us to build our own, so we followed this amazing tutorial and it turned out GREAT.


The only thing we did differently was to stain the checkers rather than paint them. We brought it to the venue in separate pieces and assembled it there using mending plates to attach them at the seams.

We were seriously stomping the shit out of that thing all night long and didn’t even make a dent in it! I had some push back from Matty for this one initially — he didn’t think we needed it, but of course we did. (To be fair he also didn’t think we needed food.) It was packed all night!
You know damn well someone (Margaret) was going to be breaking a heel (or ankle) on those patio stones if we didn’t have a proper floor. It was also nice to have a designated spot for our first dance.
Plus, there’s this:

www.appleheadstudio.com
Bridesmaids
I had a solid group of ladies in my corner and know I am luckier than most brides because there was zero drama. None. Only endless amounts of love and support. That’s what you get when you ask your three sisters and two best friends since babies to be your bitch brigade. #nailedit
Naturally, I wanted to make them feel super special and appreciated on the big day, so I ordered everyone (including my Ma) these robes from Etsy. I got white for myself, mint for the girls, and grey for Mom. They loved them!

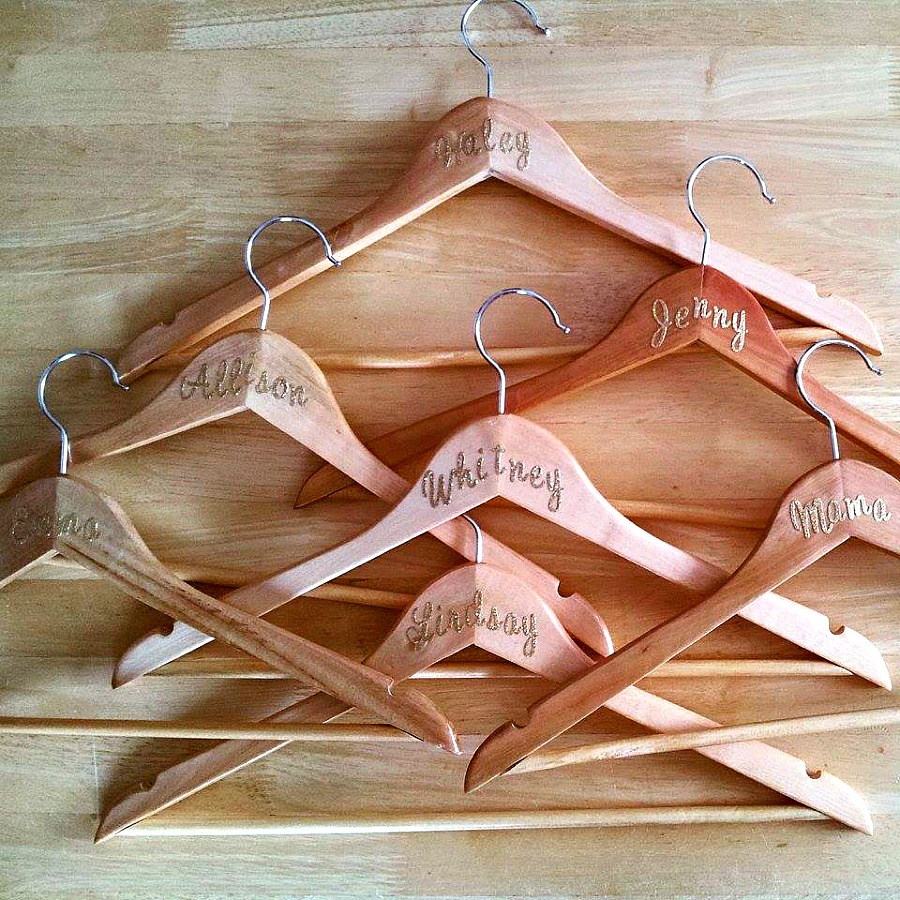
I also made these little suckers with sparkle alphabet stickers and wooden hangers from Walmart for our dresses — really easy and cheap.
I sewed everyone lined clutches following this tutorial. The only thing I did differently was to add box corners. (Great instructions here.) I filled the clutches with day-of must haves: Tylenol, tissues, lip balm, band aids, safety pins, breath mints, tampons, condoms…you get the drift.

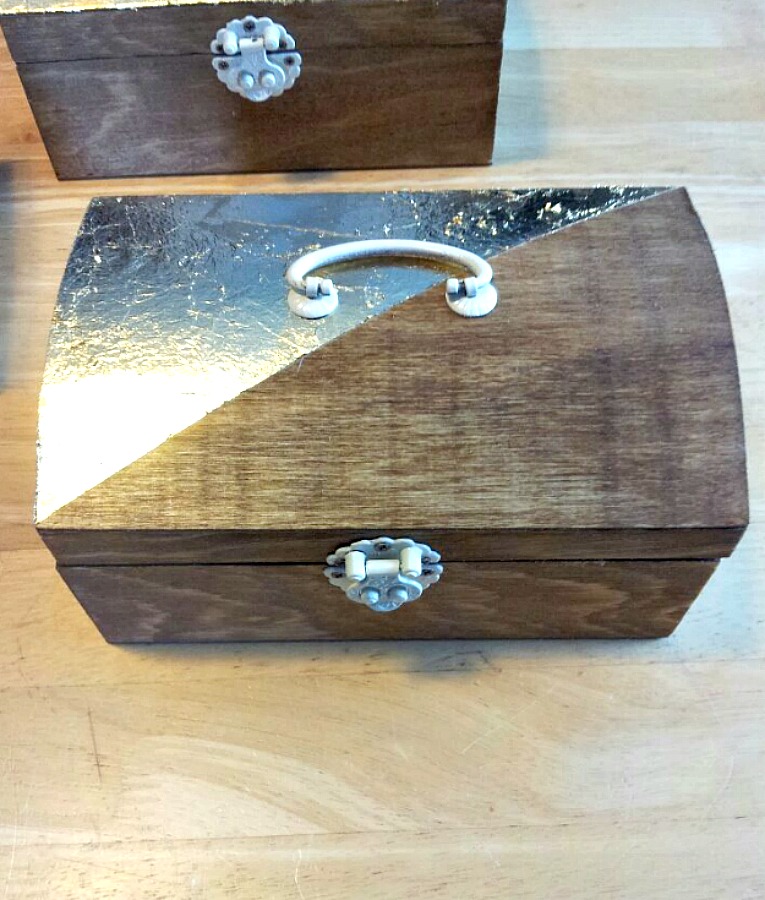
For their gifts, I got some small pine jewelry boxes from Dollarama and lined them with the same fabric I used for the clutches. I stained them with Provincial Pine by Minwax and gold leafed the tops to fancy them up, which was not as easy as Pinterest would have me believe. I put a pair of rose gold stud earrings along with a letter telling the girls how awesome they were inside each box.
As this post comes to a close, I realize it is really long and probably could have been busted up into several smaller ones. Too late now I’m almost done. (I wonder if anyone read until the end…I wonder if anyone read it at all…?) There were many more projects and little things we did, but it’s impossible to include them all. If you have any questions about anything I’ve posted, I am more than happy to chat!
Planning our wedding was one of the most exciting and rewarding experiences, and having it all come together in the end was so, so great. I did not find it stressful at any point because I love to do this kind of thing and I started way, way in advance. (Right after Matt proposed — about a year out.) If you’re a DIY bride like I was, just remember to have fun, and only do what you can. Also, make sure you’re getting married because you love your future-husband, not because you want to plan and execute the most perfect wedding of your dreams. (The line was blurred for me a few times in the months leading up to ours, but I am pretty sure I did it ’cause I love him. Pretty sure…)