I’m not a fancy person. I like to think I’m relatively easy-going and low maintenance as far as that goes. Matt and I live rather modestly and try not to spend our semi-hard earned cash on too many indulgences or luxuries.
However.
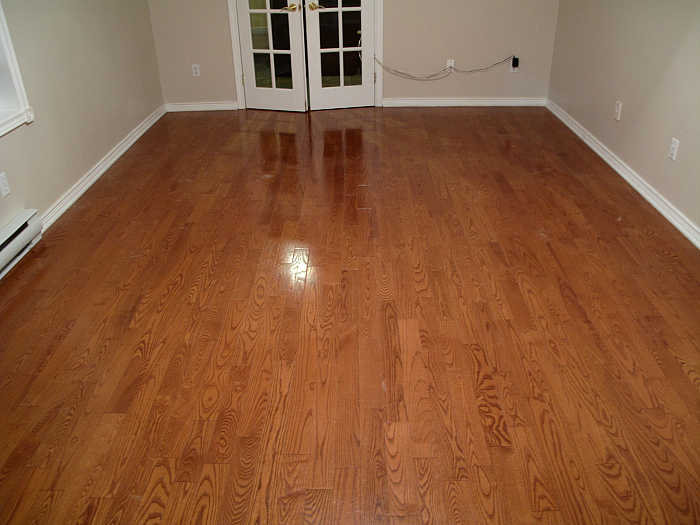
When it comes to our home, I know what I like. And what I like, is not these floors.
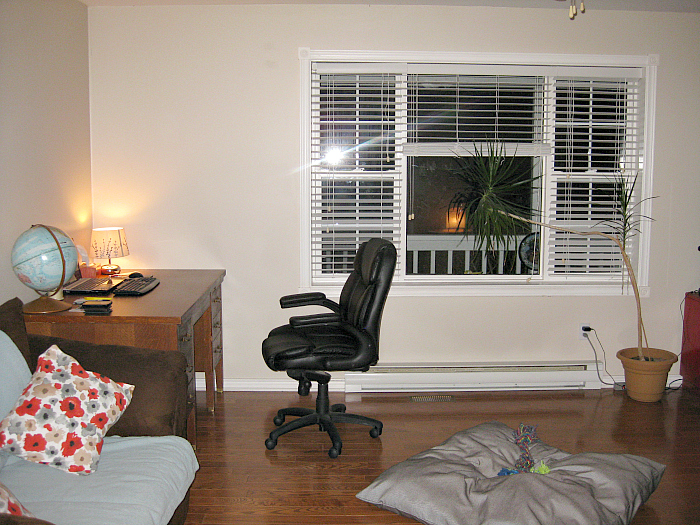


Matt is going to kill me dead for sharing these pictures — good thing he doesn’t read the blog, tee hee! I actually don’t like much of anything that’s happening in this room, but let’s focus on the floors. Why on earth would anyone hide these beautiful white oak floors with a finish like that? WHY? I mean, it was 1996 when our house was built, and things were different back then. Jean Crétien was Prime Minister, the Spice Girls reigned supreme, and I looked like this:

Would you get a load of those chompers? It was a simpler time, to be sure, and perhaps 12-year-old Allison would have appreciated this orange-hued, shiny masterpiece but I am here to tell you that 32-year-old Allison does not. And you know what that means…it was time to burn the house to the ground.
Not really, that’s a little dramatic.
Matt was really not into this project. The floors were in excellent condition, just crazy ugly is all. To be completely honest, I wasn’t too keen on this project either, because it was very likely I could end up ruining our perfectly good floors. After much soul searching (again with the drama), I decided that potentially screwing them up was far less painful than it would be to live with them as they were from now until the end of time. I spent a few months reading up on everything I could, so that when I finally worked up the balls to do it I was somewhat prepared.
I tackled it on a long weekend where I had both Friday and Monday off, so I’d have enough time to finish it all in one go. I rented the drum sander from Home Depot for one day, and bought four 60 grit, three 80 grit, and two 100 grit sanding pads to go with it. In retrospect I probably should have started with 32 grit, because the finish was so dark and with the 60 grits it was a bit slow going, but I went with what the guy at Home Depot recommended and they worked well over all. Are you ready?
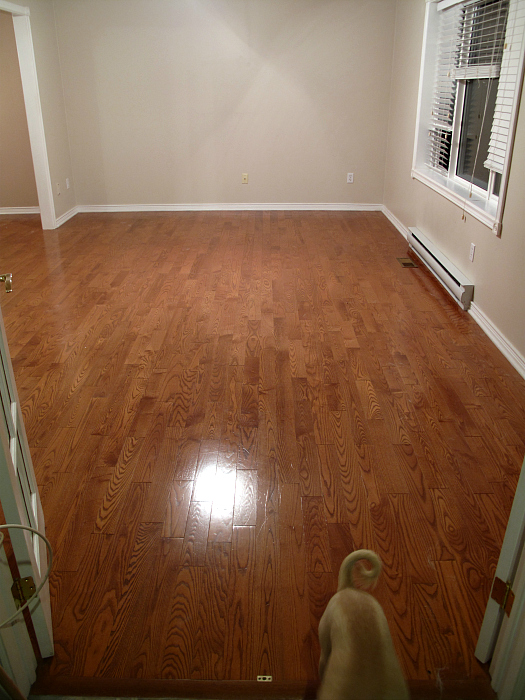
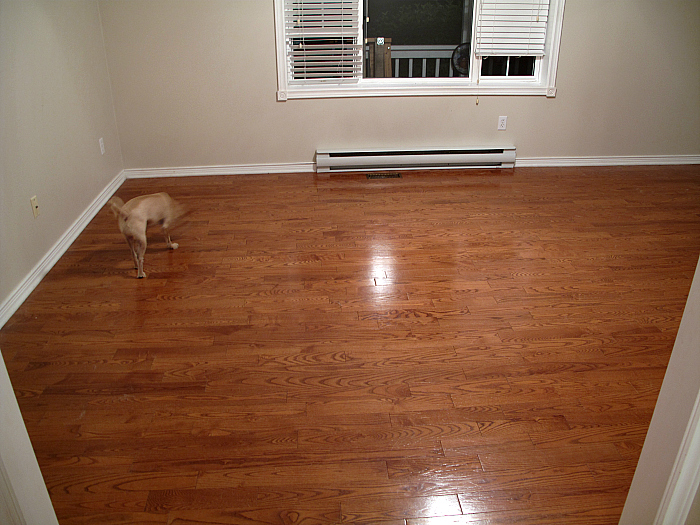
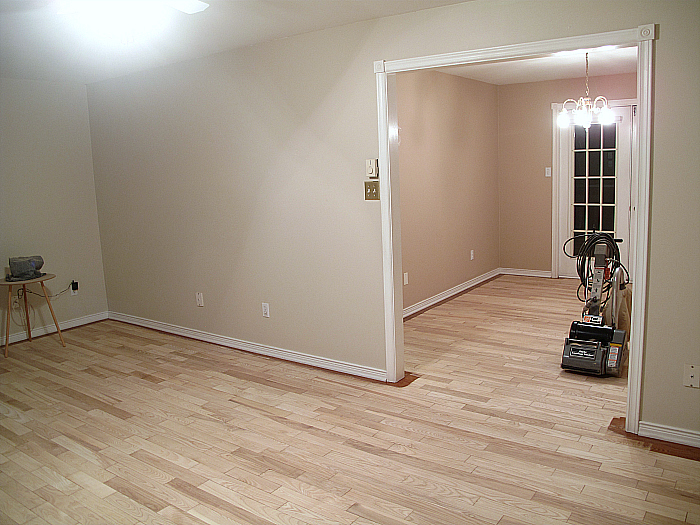
Move all the furniture out of the room and remove all the baseboards and molding.
Matt helped me clear everything out and shove it into various other corners of the house. It was a cramped couple of days, but we made it work. (We hadn’t yet removed the trim before taking these pictures.)
Seal off any entry way or openings to keep the dust at bay.
I taped up the entry way of our kitchen with a plastic drop cloth to keep the dust from going all through the house and it worked remarkably well. We have French doors at the other entrance, so I just closed them.

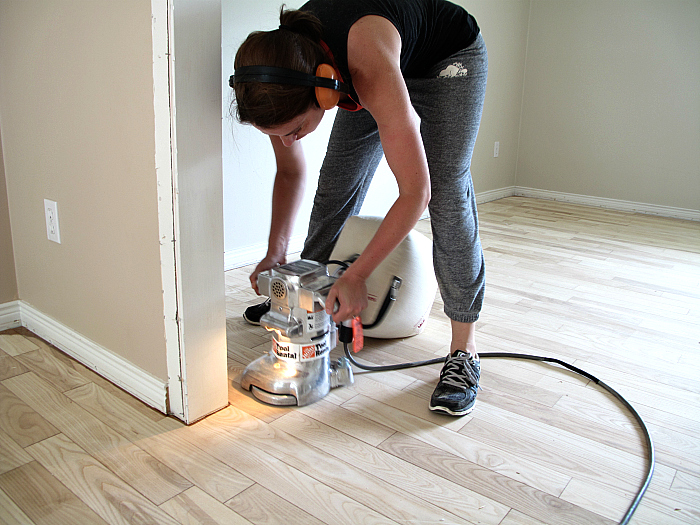
Protect yourself and work safely!
Make sure you have adequate ear/eye protection, and also a mask. The bag on the sander does a good job of catching the dust, but it still gets in the air. After emptying the bag at one point, I attached it back on to the machine and forgot to zipper it closed. I was sanding for like 30 minutes with the dust just flying into the air before I noticed wtf was going on. What a dumbass.
Now you’re ready to start.
The drum sander was not nearly as intimidating/hard to handle as I thought it would be. You do NOT need to put pressure on or push the sander; let it do the work for you. I made sure I was always moving when the drum was in the lowered position (touching the floor), and just went very slowly with the grain of the wood. Like vacuuming in super slow motion. Any stubborn spots that weren’t level with the rest of the floor needed more than one pass.
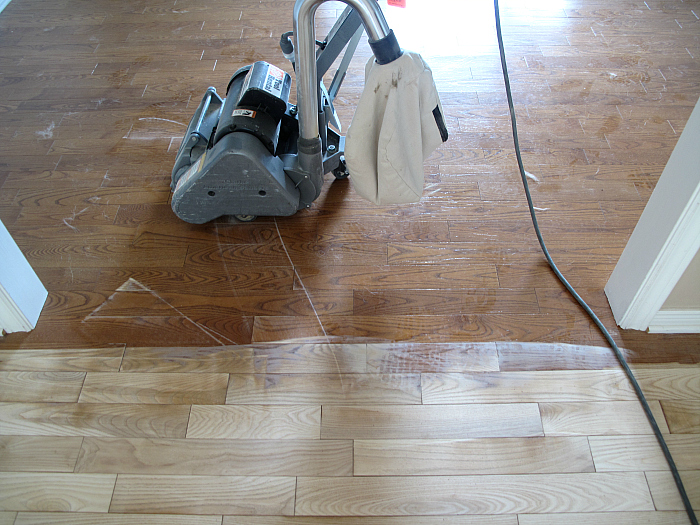
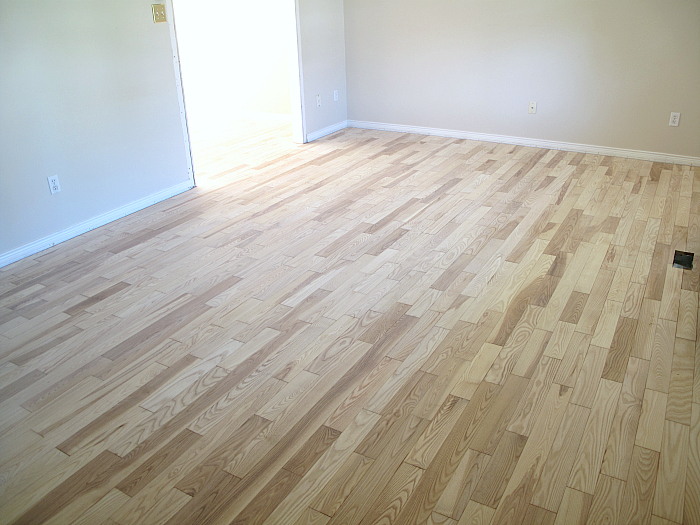
I took the finish off the entire space with 60 grit, then smoothed everything out by going over it again with 80 grit, and finally finishing with the 100 grit. It took me about seven hours to do just under 600 square feet of floor. As I mentioned earlier, I think starting with 32 grit would have been a lot faster, but it’s scratchier so could have taken longer to smooth out. It’s hard to say, I am not a professional.
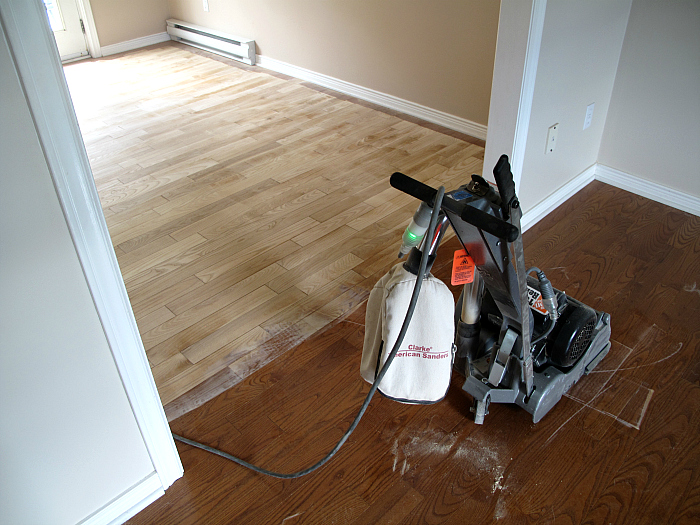
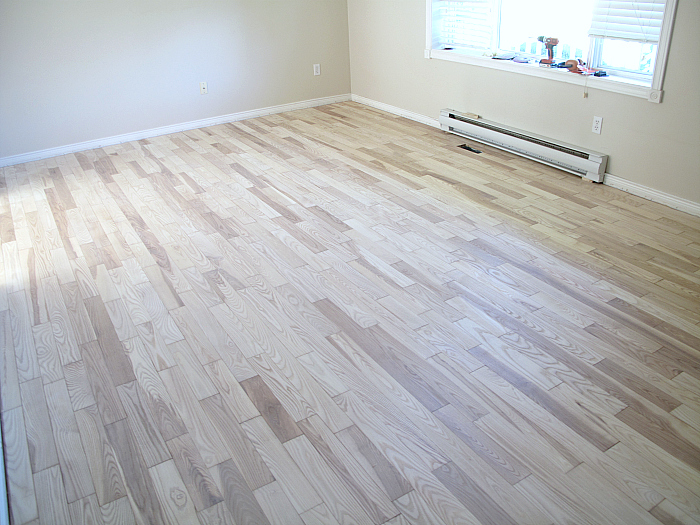
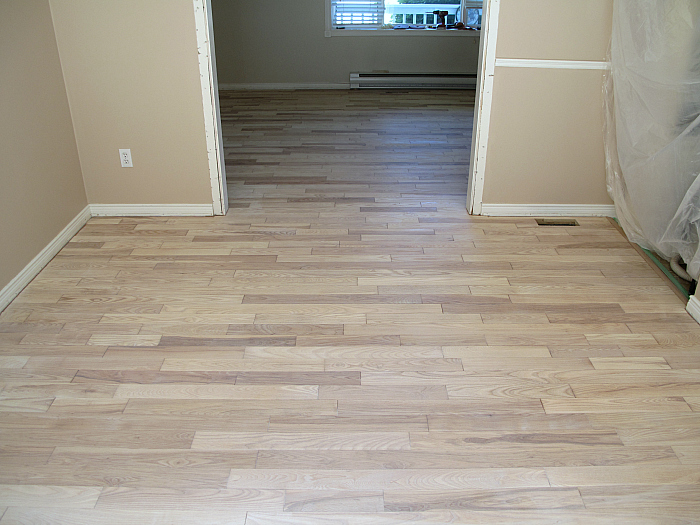
I started in the little dining room area and then worked my way over to the living room.
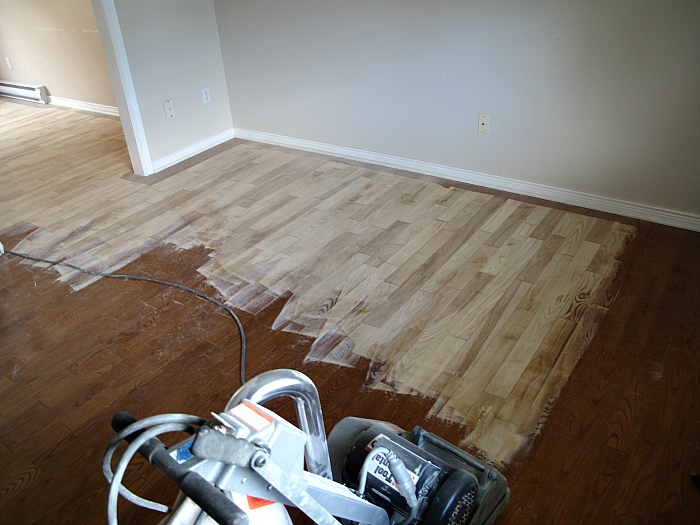
My sanding wasn’t perfect. If you get up really close to the floors there are spots I messed up, but I wasn’t too concerned about it because I knew I was going to add a really light finish. Also, I have three dogs, and one week after finishing they are already scratched to hell. But that is the beauty of light floors: you can’t really tell unless you’re getting down on all fours and really scrutinizing it. And if you’re doing that, I will probably ask you to leave my home because you’re weird AF. Besides, who wants to live in a house where they have to tip-toe around, scared to touch anything? Not this gal.
The next day, I returned the drum sander and rented the edger, which I highly recommend. I had originally planned on using my palm sander but it would have taken f-o-r-e-v-e-r and for the cost of the edger and sanding pads, it was so worth it. I was done in 2 hours or so. I found the edger more difficult to maneuver than the drum sander, and my arms and abs got a killer workout. I used the same grits as I did with the drum sander and went all around the perimeter of the room. It worked really well. Spend the money and rent the edger.
At this point, I was ready to stain, and hit the first hiccup of the project. I decided to do the floors the same color as our bedroom (Pickled Oak by Minwax) for consistency’s sake, and also because I love the look of light, sun-bleached flooring. I may have been delirious with exhaustion at this point, but as I was looking at the floors (which were already light and drift-woody and beautiful from all the sanding) I decided to skip the stain and just poly them, since they were already the color I wanted. SO SMART. As soon as I started applying the poly I remembered why I had bought the stain in the first place — because applying straight poly to bare wood alters the color. I shrieked in horror as I saw it seeping in and immediately turning my beautiful, freshly sanded floors yellow. I had a master level meltdown but managed to pull it together rather quickly. Luckily I had only done a tiny corner before I realized my mistake and was able to sand it out with my hand sander. Lesson learned.
The next problem arose when I started staining. I’ve only ever worked with cheaper, softer woods like pine, and when you stain a piece of pine (like the plywood floors in our bedroom) the wood just sucks the stain right in. Well that doesn’t happen with hardwood: it kind of sits on top of the surface and you have to wipe the excess off. It’s madness I tell you! When I started staining, and saw that it wasn’t soaking right in, I had another mini meltdown, thinking that I hadn’t sanded the floors well enough. A quick Google search and I realized what was happening, but this meant that all the waiting and wiping and crawling around on my hands and knees tripled the amount of time and effort I’d anticipated it would take to stain, from about one hour to three. I was really tired.
Onward and upward. I let the stain dry over night and late into the next morning, and then I finished the floors using three coats of Minwax Ultimate Floor Finish and the same method as in our bedroom.
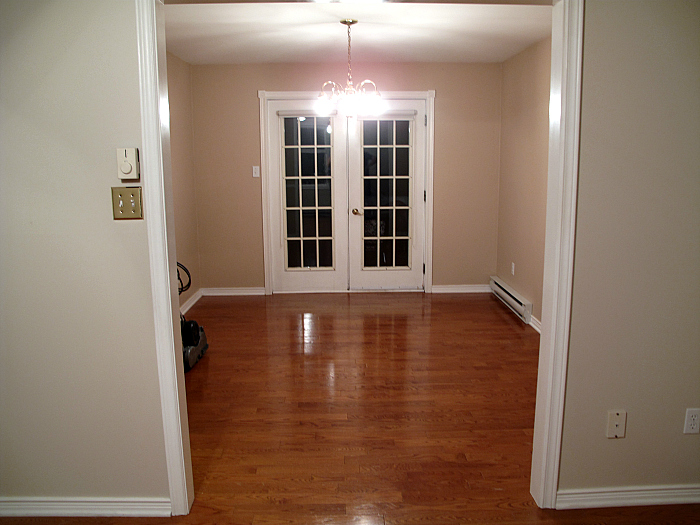
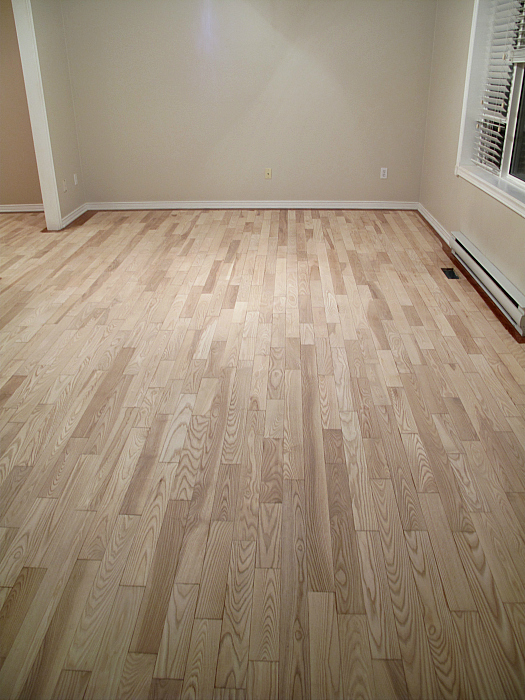
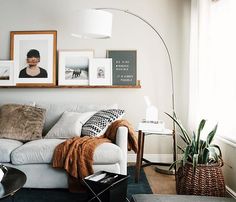
This project was exhausting, and probably the hardest I’ve worked to date. I would do it again tomorrow if it meant I get to have these floors:
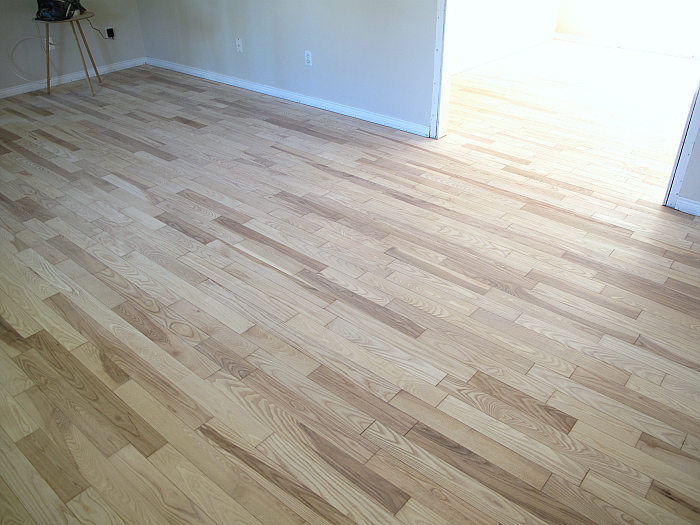
I mean, come on. I can’t believe how much nicer they look! Those old orange floors were so depressing. When I told my dad that I was going to sand them down, he informed me that you couldn’t refinish laminate. Guys. He didn’t even know they were hardwood that’s how shiny and plasticky looking they were!

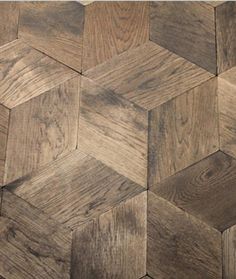
The space now looks like it’s twice as big and I am obsessed with the variation of hues in all the different pieces! I’m so glad I got up the guts to do this! I am not a professional: not even close, but I do think this is a project that can be taken on by homeowners with a little research and a lot of hard work. Plus, you save yourself thousands of dollars by doing it yourself (unless you completely screw it up, of course — but you won’t!) I think all in (rentals, sanding pads, stain, and floor finish) it cost me around $450. Not too shabby.
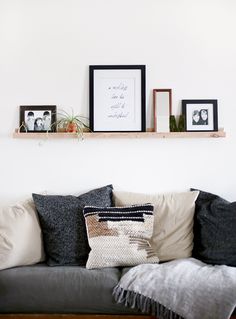
**UPDATE: To see how the floors are looking with the walls finally painted and some furniture moved in, click HERE.


They turned out beautiful
Thanks Georgina! 🙂
They turned out great!! We just finished our pine floors that had several coats of paint. The only grit that would work was 36. It was impossible to get all the gouges out. Lucky for us we wanted imperfect since they are 80 years old and we live at the beach with a dog!