OK! Let’s get to it shall we? This is the follow-up “breakfast bar” post to the wall-opening project we tackled earlier this summer. You can see the details here, or just keep reading to get to the good stuff.

To bring you up to speed, this is what the wall separating the kitchen and living room looked like before (from the kitchen side):
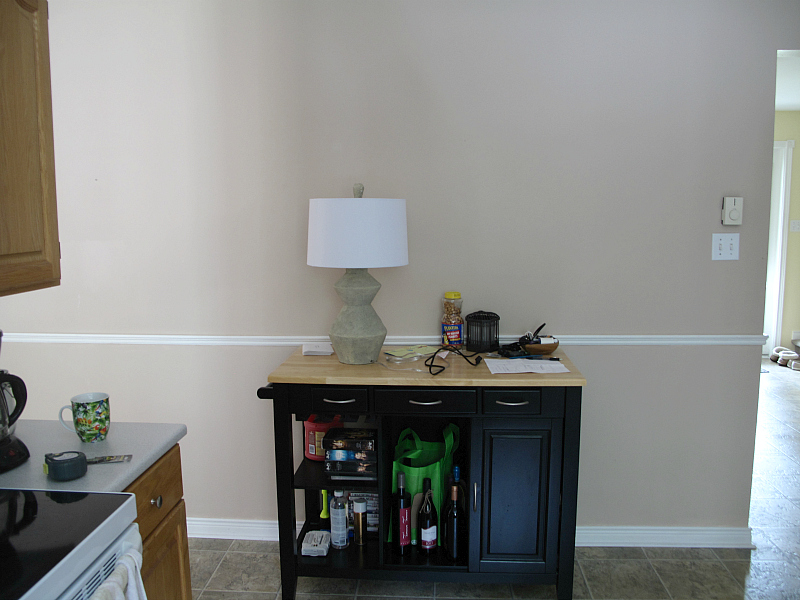
And from the living room side:
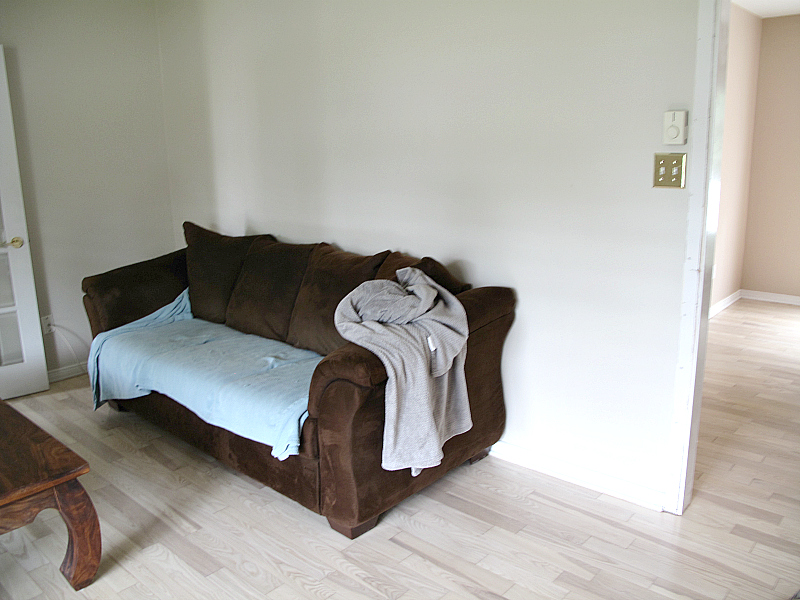
So very yuck. Anyways, here’s what we were looking at after Matt and his Dad cut a hole, framed it out, and put up the new drywall:
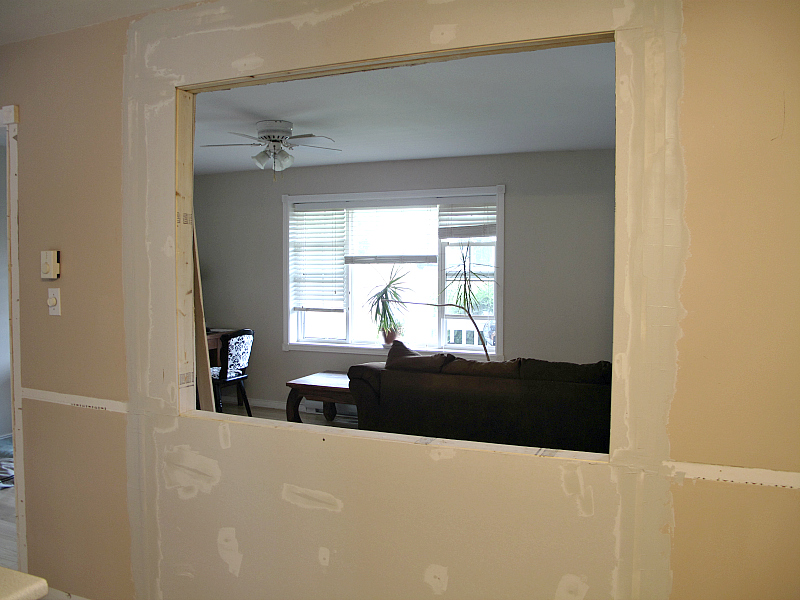
Already a huge difference, I think.
Once the drywall compound was dry (by which I mean a month later), I sanded everything down nice and smooth and gave the wall three coats of paint, the same color as the dining room.
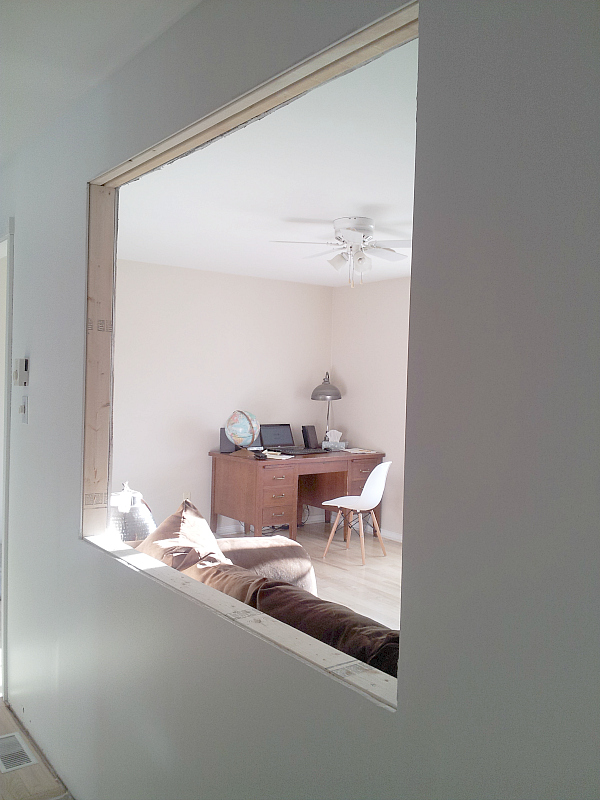
Looking better already.
To trim the opening, I decided to use pre-primed five inch MDF, and four inch knotty pine. First, I measured how long each piece of MDF would need to be for the inner square and cut them to size using my Ryobi mitre saw. Then I nailed each board in place, right into the stud.
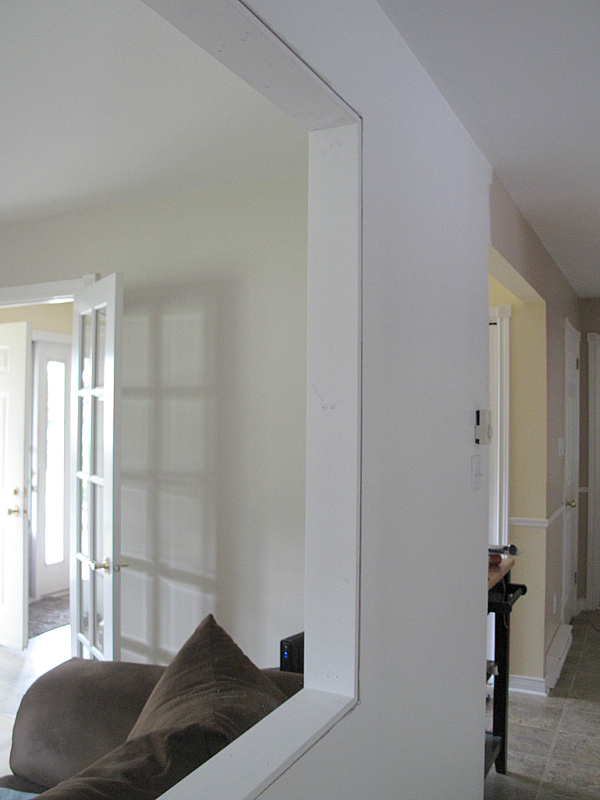
I punched the nails in a little deeper with a nail set and filled the holes with putty. It took about a day to dry, and then I sanded it smooth.
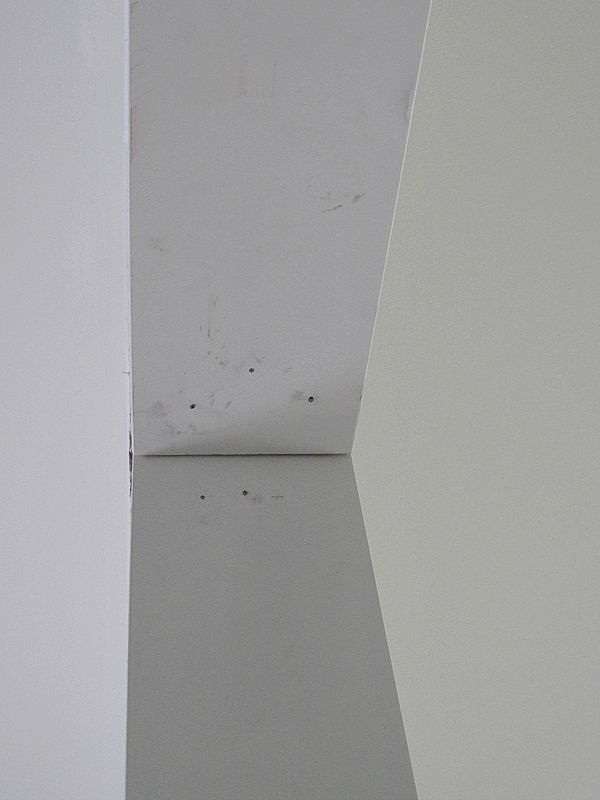
I wiped everything down to get rid of the dust, and then did three coats of white paint. Once the paint was dry, it was time to move on to the walls.
I measured very carefully, and cut my pine boards to size at 45 degrees (again using my mitre saw). I decided to leave them natural because I really love how they looked with the white walls, so I skipped the stain and just gave them a few coats of poly.
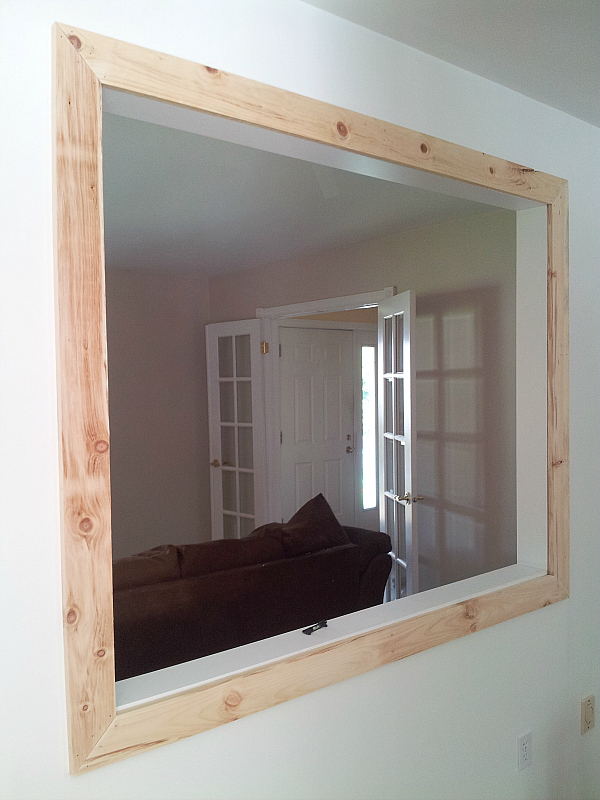
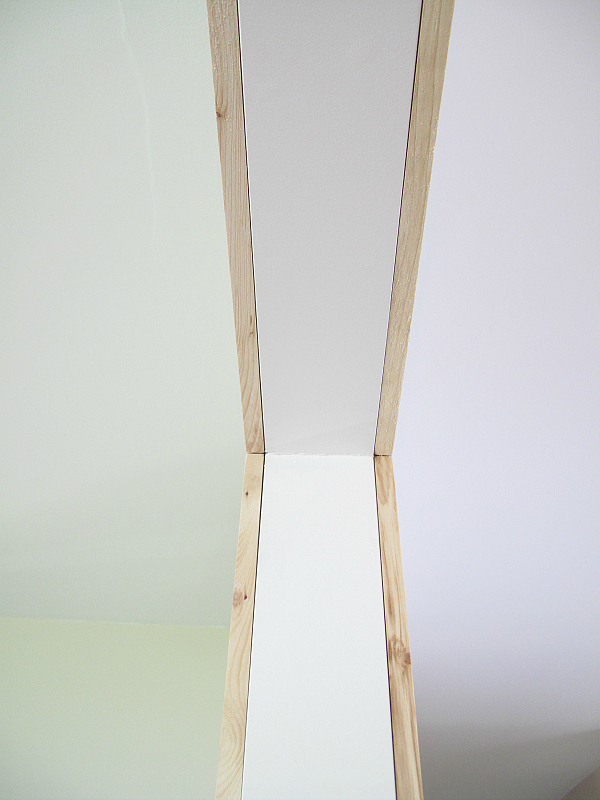
I’d never trimmed anything out like this before, and Henry (Matt’s dad) had mentioned that I would want to get my MDF slightly wider than the width of the wall, so that there wouldn’t be any gaps between where the MDF met the pine. I think I did a pretty decent job, although it isn’t perfectly flush:
I used three 2x6s cut to size to make my counter top and attached them together using my Kreg Jig and 1 1/2″ pocket holes. I blew this out in an afternoon; it took less than an hour and a half to cut, sand, drill, and stain (I used ‘Provincial’ by Minwax — the same shade as our dining room table). Once the stain was nice and dry, I gave the counter top several coats of Minwax oil-modified poly, sanding between each coat. I let it cure for about a week before we installed it in the wall opening.
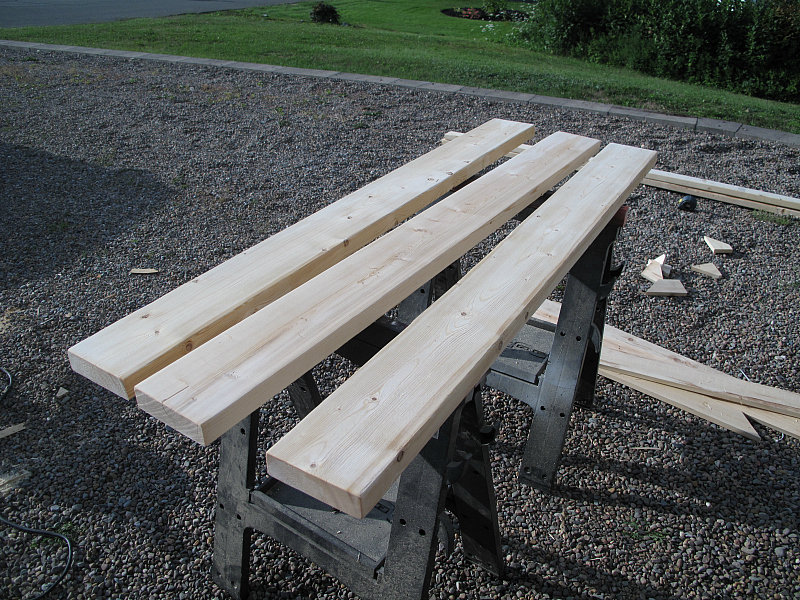
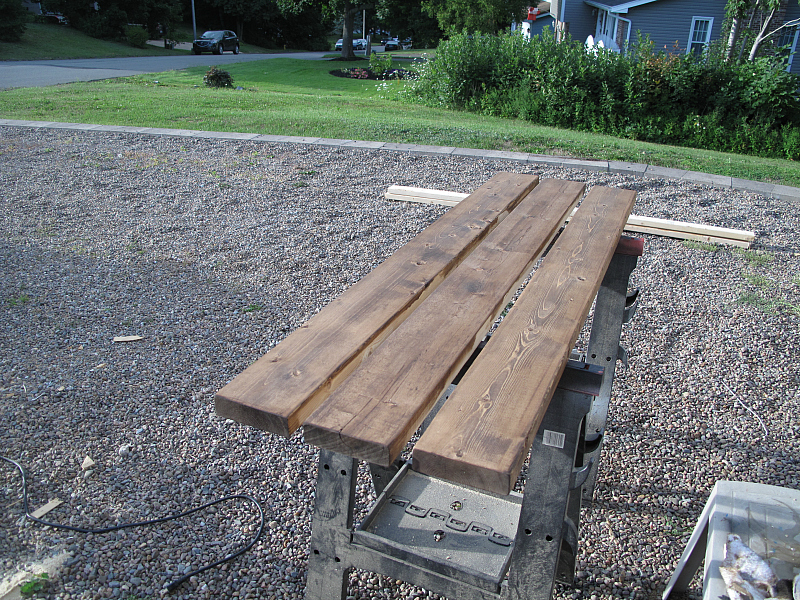
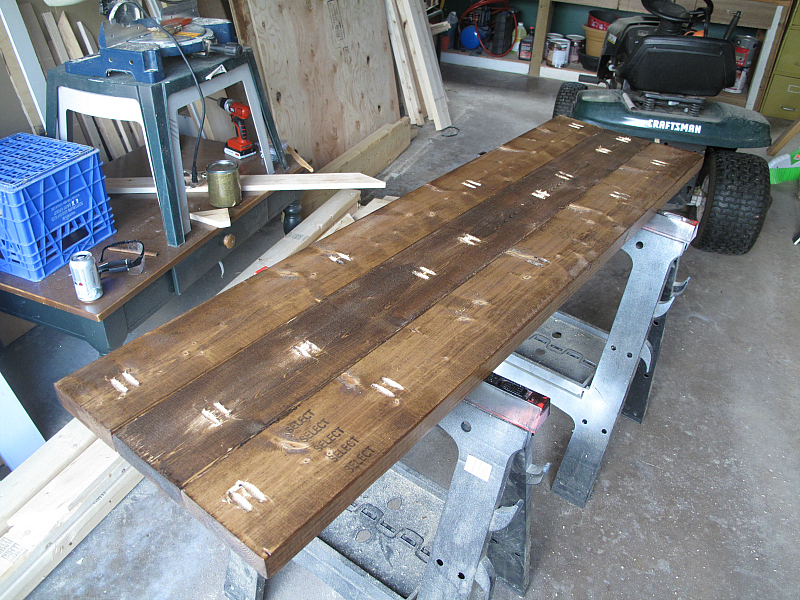
I really feel the pressure when it’s time to do something that I might screw up (like drilling into freshly painted walls), so I asked Matt to help attach the counter top. That way, if he was the one to shit the bed, I could blame it on him instead of myself, and that’s a good feeling. First, we fit the counter into the opening and lined it up flush with the wall on the living room side — it was a perfect fit because I’m just #thatgood (and also pretty humble). Once we had the counter wedged into the space and lined up on the living room side, we grabbed the level and propped it up until it was perfect.
Matt drilled two 2 1/2″ wood screws down through the counter top right into the sillplate on each side to secure it. I didn’t really care about the screws showing because I had planned on using some decorative knobs to hide them, but it turned out I didn’t bother (I have some plants on the counter right now and you can’t even tell the screws are there).
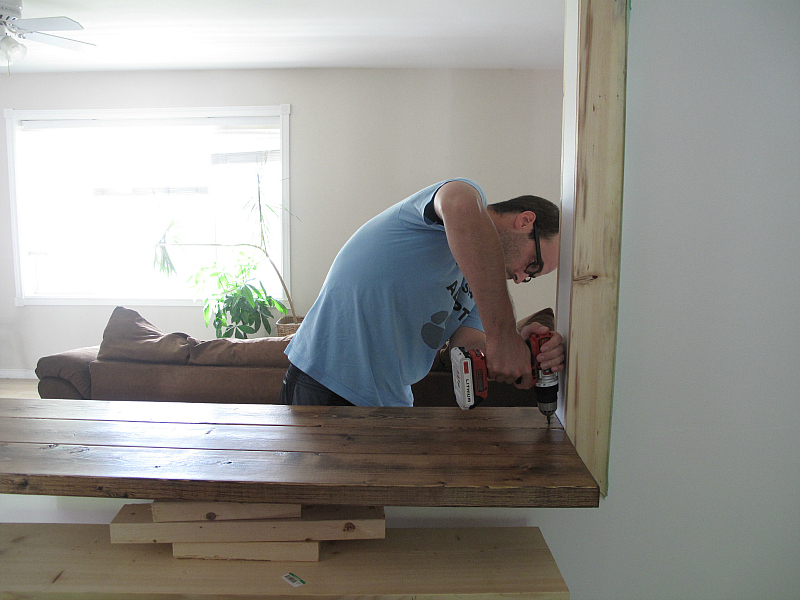
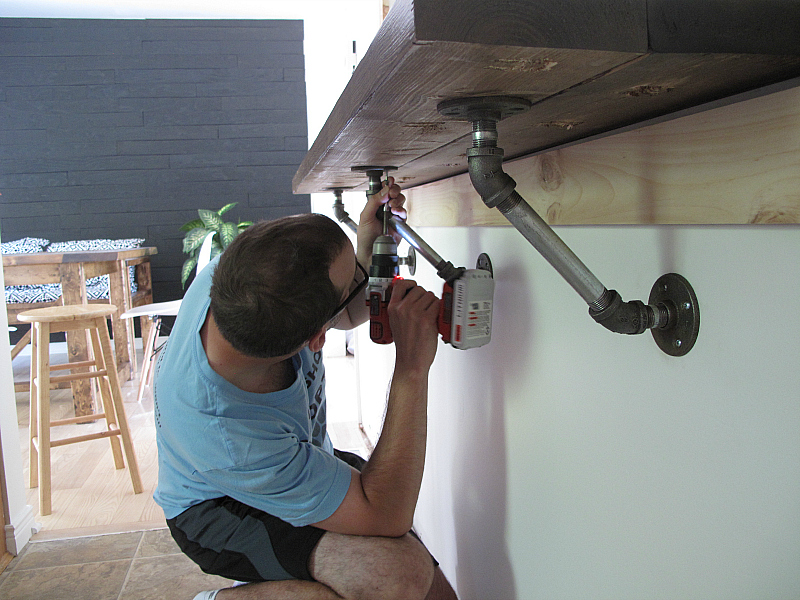
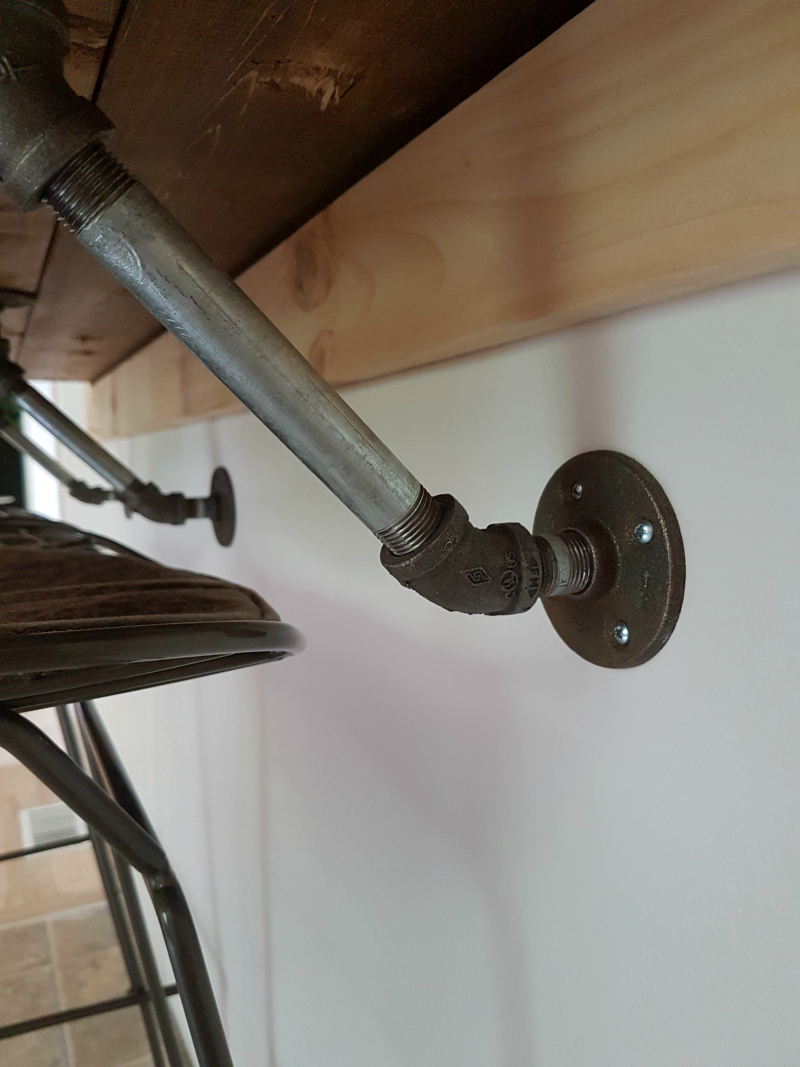
Next we figured out where the three brackets would need to go in order to be evenly spaced apart (this is why I had Matt help — I do not do math). For each bracket I used two flanges, two 45 degree elbows, two one inch nipples, and one seven inch nipple. I really like how they turned out and the “unfinished” edge they give to the bar. Matty screwed one end of the brackets into the wall studs, and the other right into the bottom of the counter.
Look at how cute. (I’m talking about Tank, to clarify.)
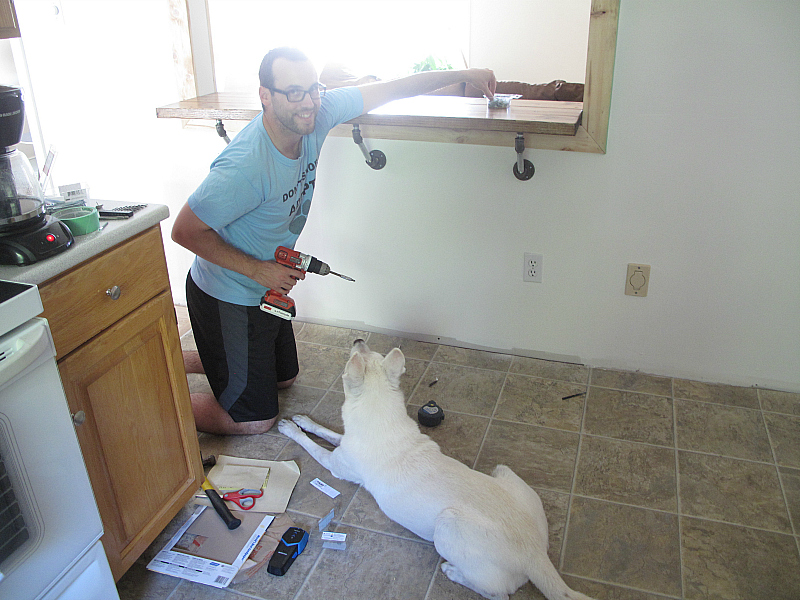
This was a very inexpensive project — all in I think it cost us $200: I’m talking lumber for the framing, new sheet of drywall, the trim, 2x6s for the counter top, and the brackets. I love, love, LOVE how much more open the downstairs feels now just from adding this little window!
Before:
After!

We got those amazing stools for an insane deal at Wicker Emporium and I love them — they are perfect for the space and just the right height.
Before:
After!
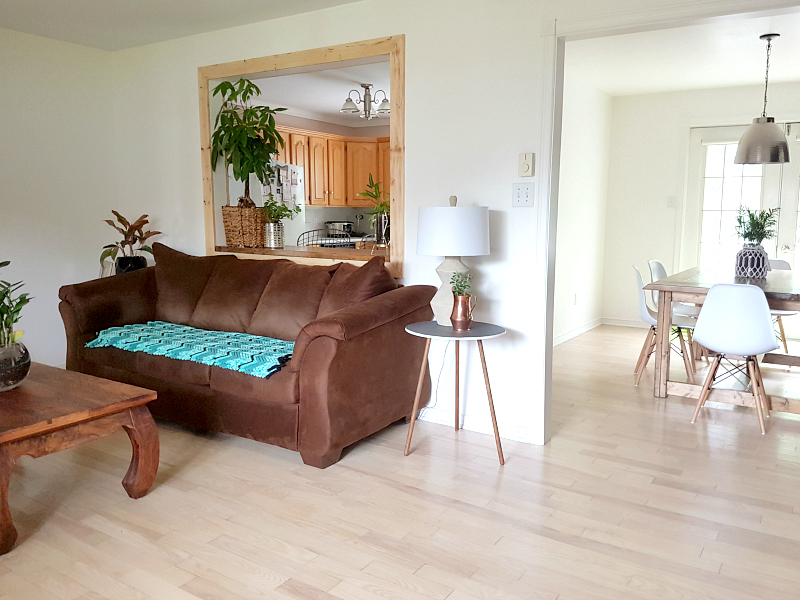
The downstairs is definitely chuggin’ along and I seriously can’t wait to get my hands on that kitchen….
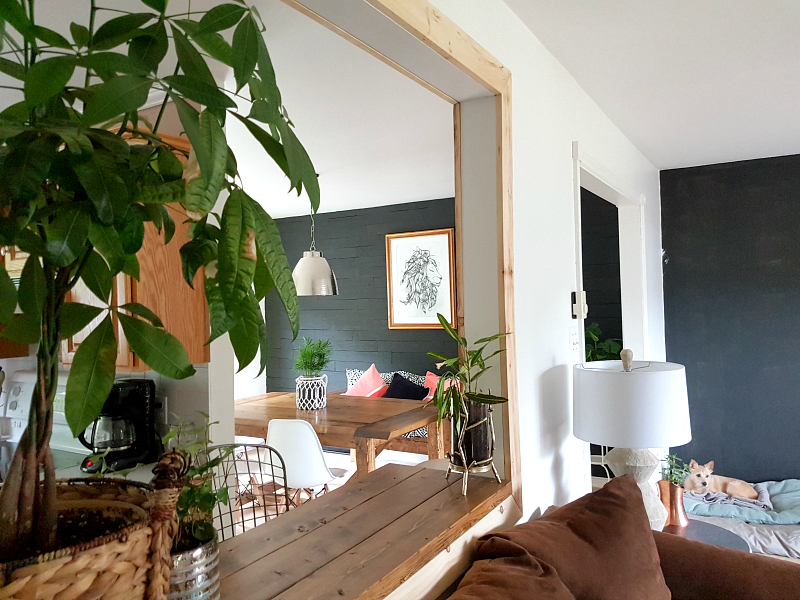
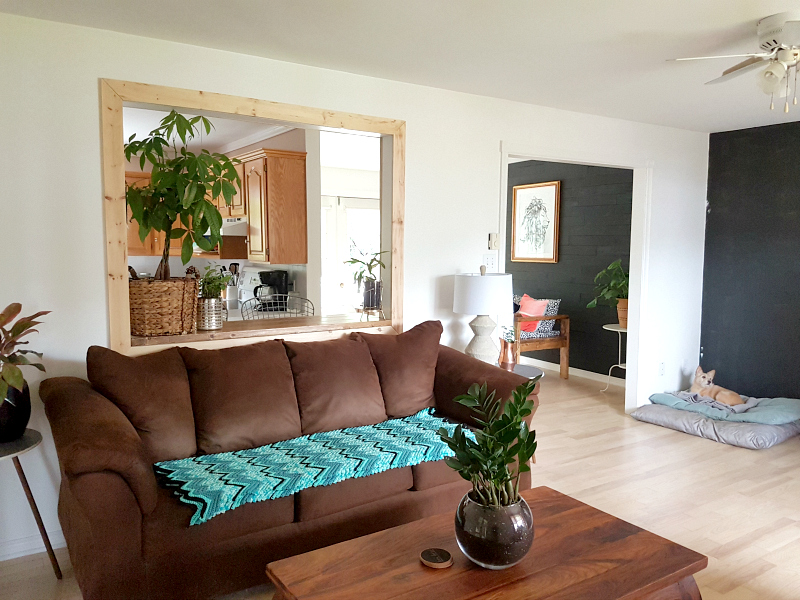
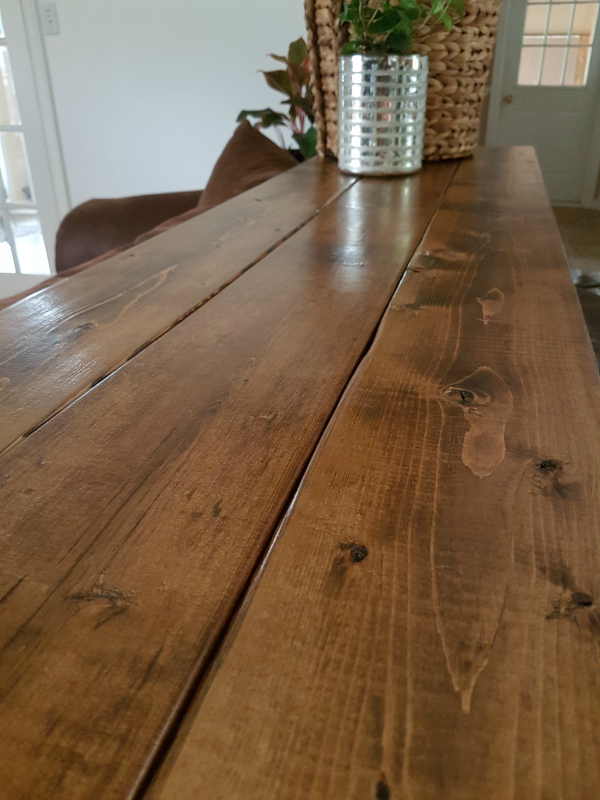
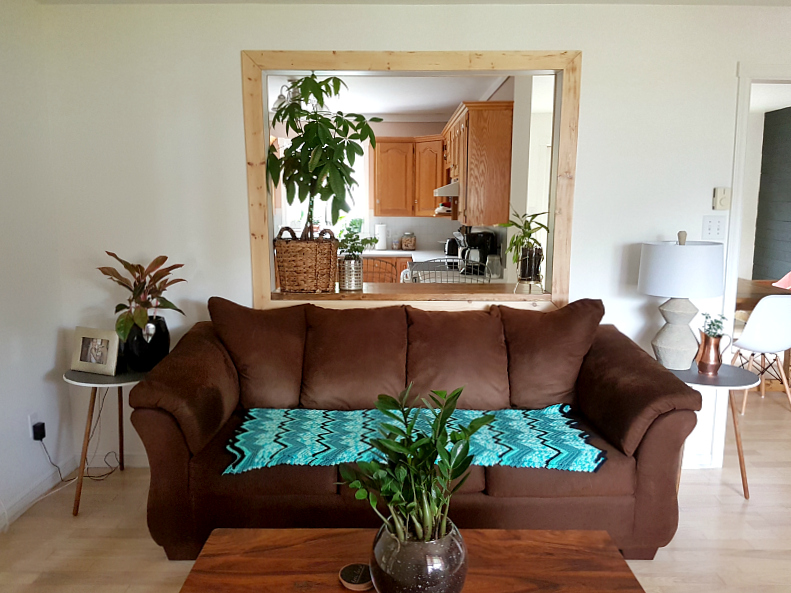
I am currently saving my pennies for a Restoration Hardware sofa that costs more than my university degree, but until then the Brown Beast is here to stay, unfortunately.
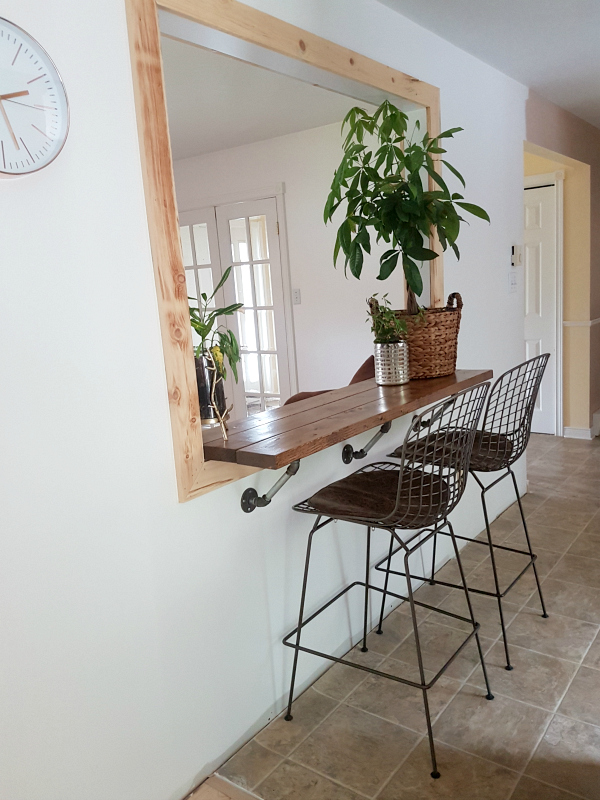
When change is as gradual as it has been with our house, sometimes it doesn’t seem that different than it was before after you finally finish a project. But when I look back on pictures like this…

And then look at this…
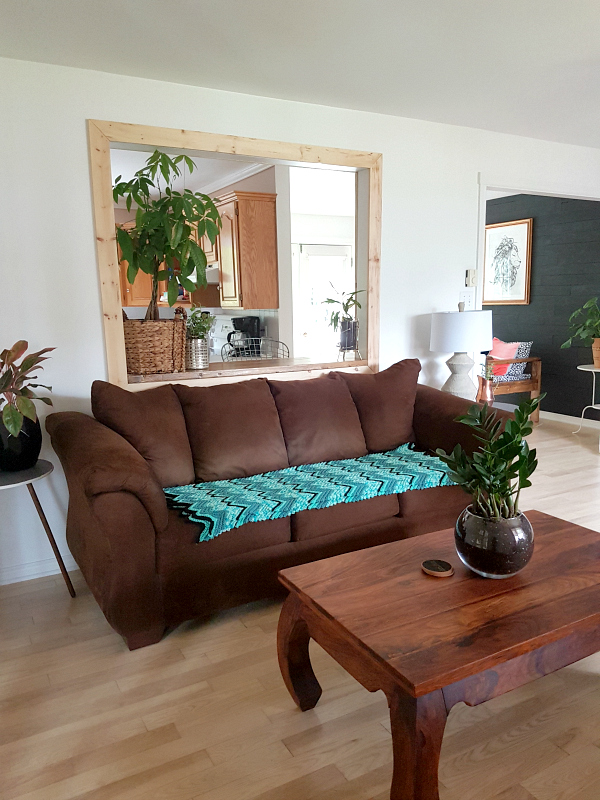
I realize we’ve done a lot in a year, even if sometimes it doesn’t feel like it.
So I wanna hear your thoughts — was taking that wall out a terrible idea? I have to be a lot more careful about swearing at Matt when he’s in the other room because now he can hear me, but other than that I think it’s just great.



Your house is looking so amazing!!
Thanks Alicia!! I have a huge backlog of posts to share but zero time! Maybe I should quit my job…..
Do it! You can be the next HGTV superstar. I mean, I love me some HGTV and I’d DEFINITELY watch your show. haha
You could be my publicist!!