I built a bed.
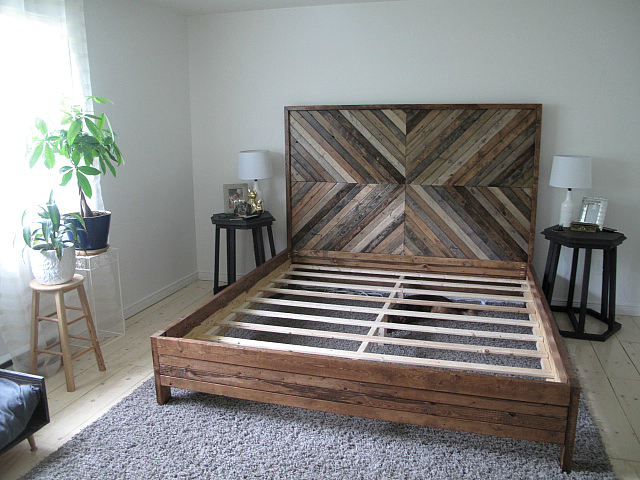
I know this may seem like a small feat in the grand scheme of things, but not to me. To me, this is a goal that once seemed impossible coming to fruition and I am so excited that I built a bed. And not just any bed; I built THIS beautiful beast of a bed:

Back in September, Matt and I decided to take the plunge and move home to K-Town, so naturally we bought the house across the street from my parents. They are thrilled. Thrilled.
We knew the house was ours for about three months prior to closing on it, which gave me ample time to plan, and ample time to pin. Thinking back to all those sexy, late-night Saturdays brings a wistful tear to my eye. I’m sure that was exactly how Matt envisioned us spending our first few months as newlyweds: me upstairs, feverishly clicking and pinning away; him downstairs, eating raw hot dogs and condensed tomato soup straight out of the can.
During one of my many Pinterest binges, I stumbled upon this tutorial by the amazing Jen Woodhouse on how to build the “Alexa” bed from West Elm, and fell in complete love (with both Jen and the bed). I wanted that bed. I wanted it real bad. The (very big) problem was that up until that point, I had never built anything. I would find myself adding things to the list of projects I wanted Matt to build, it never occurring to me that I should probably just learn to build myself. #terriblefeminist
So that’s what I did, and now I am addicted. There are so many amazing resources for people like me who are wanting to learn and don’t know where to start, and awesome bloggers (like Jen!) who provide free plans and step by step tutorials. Six months ago I had never used a saw, and today I can build a bed. I hate to drop this cheesy drivel on you guys, but if you can dream it you can do it. (Ohhhhhh I think I just threw up a little bit!)
I mean, it is far from perfect. If you look closely, the bottom quadrants don’t line up properly, and the top rail of the foot board is a little janky; but that’s alright. It’s a learning process and I’m pretty stoked with the end result, especially since the entire thing only cost me $210 in materials, and the West Elm version retails for over $1500 (that’s American dollars, sports fans —I don’t even want to do the Canadian conversion). (Ok I did it and it’s $1950 Canadian. Bonkers!)
I won’t post a full on how to as Jen is the one who drew the up plans, and has them available (for free) on her blog. I followed her instructions pretty faithfully, except I didn’t taper the legs because I thought I might mess it up, and I used full-length 1x3s on the side rails instead of cutting them into slats which was strictly an aesthetic choice.
I assembled the head board per instructions…
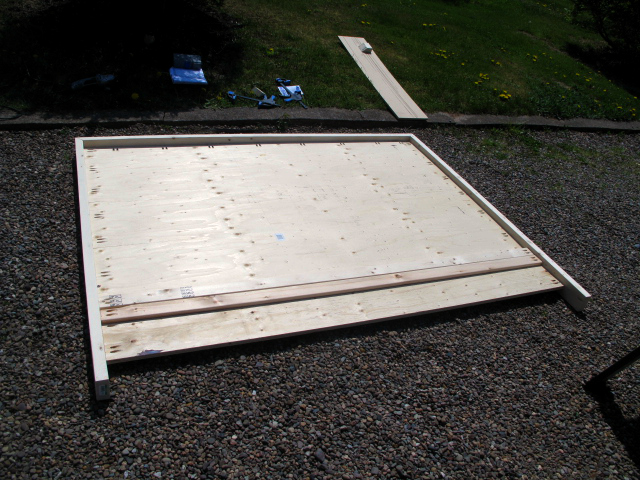
…cut all the slats to length and dry fit them onto the plywood base, then sanded and stained each board separately before attaching them with my nailer…
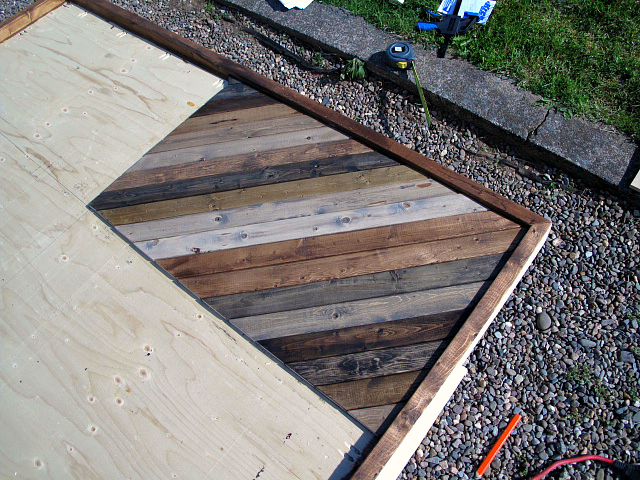
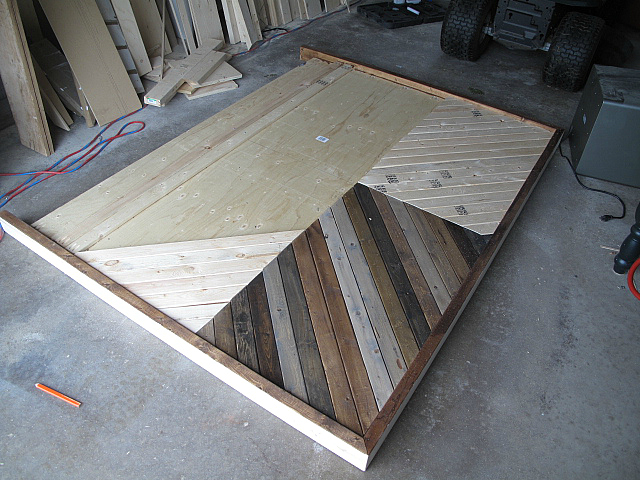
…then moved on to assembling and staining the foot board and side rails.
Once all the pieces were constructed and stained, I gave everything 3 coats of Minwax Poly (Ultimate Floor Finish) in satin, sanding between the second and third coat.
I was so, so excited to get this bad boy set up in our room, but since we were upgrading from a queen to a king, we had to wait for our new mattress set to be delivered. #firstworldproblems Alas, the bed stayed in the garage for a few weeks. It was torture. Every night I went in to say hi and quietly sing it lullabies.
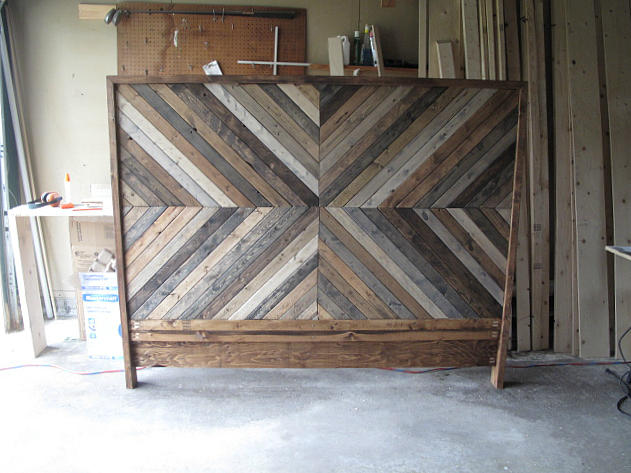
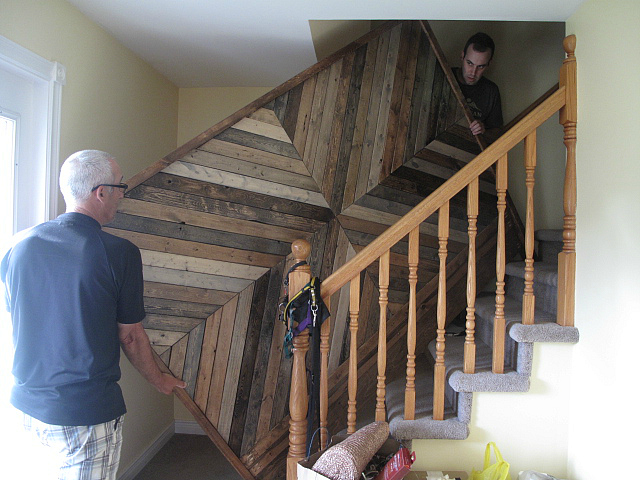
When the day finally came, Matt and my Dad lugged all four pieces upstairs. It was a tight squeeze getting the headboard up there, and for a few minutes I thought we would have to remove the ceiling. (Please note the look of concentration on Matt’s face. Also note that beaut of a honey oak banister.)
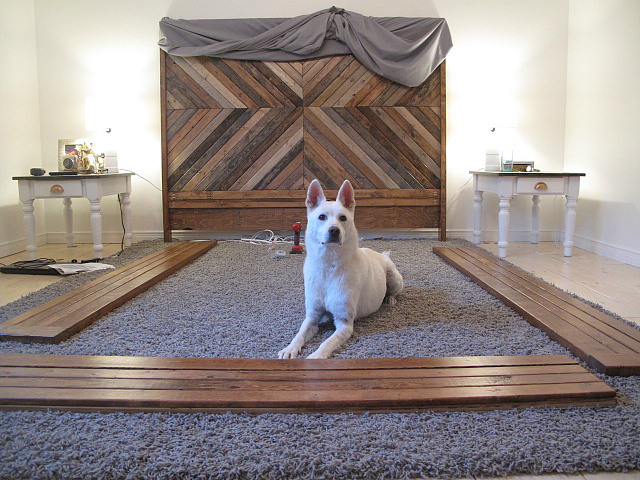
Once we had everything upstairs, we assembled the headboard, side rails, and foot board. Tank was incredibly annoying albeit adorable throughout this process.
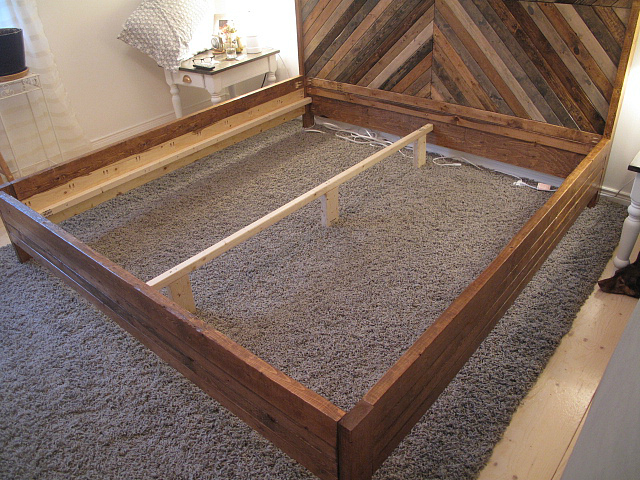
We added the middle and side supports, along with the slats, so it would be ready for the mattress delivery guys the next day.
We also made a solemn vow that we wouldn’t let the dogs get into the new bed, no matter what. This lasted (as predicted) less than one hour. It’s a good thing I opted for the PRISTINE WHITE Ofelia Vass duvet cover set from IKEA (which is lovely, in case you’re wondering). It will be ruined by week’s end, but at least these filthy monsters will be comfortable.
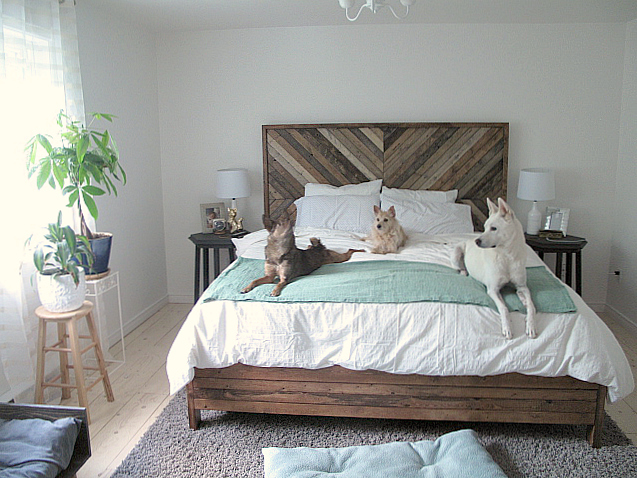
I can’t wait to get some fun stuff to dress up the bed and add color to the room! In the meantime, here is my new baby, in all her massive glory:
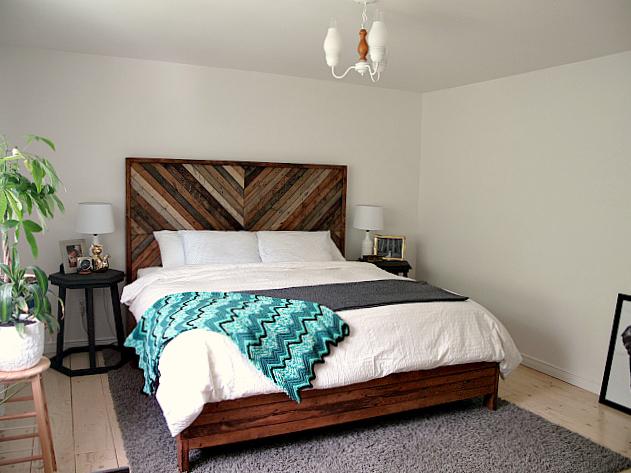
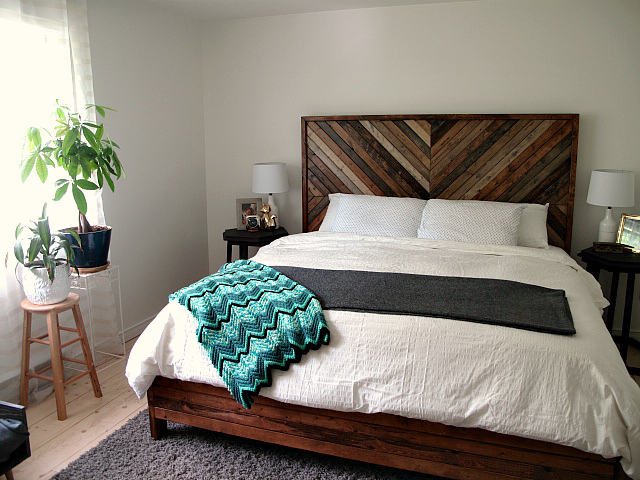
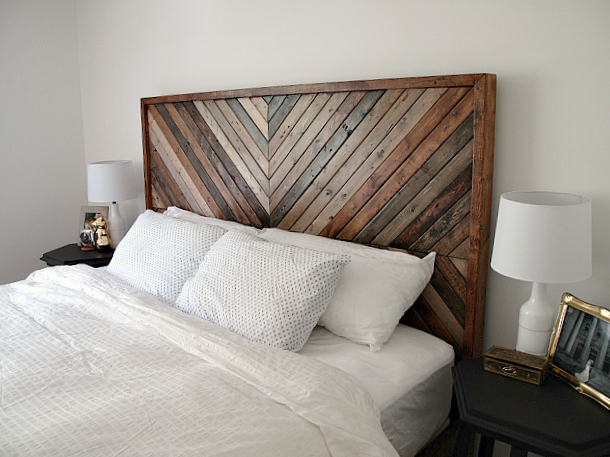
As mentioned, I opted for three long 1x3s as opposed to slatted planks for the side rails:
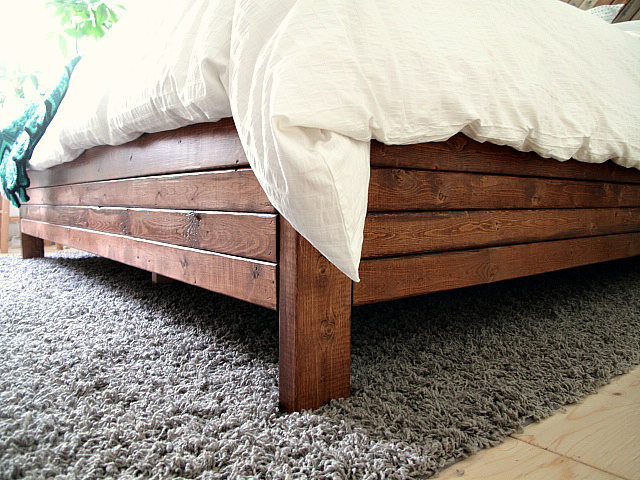
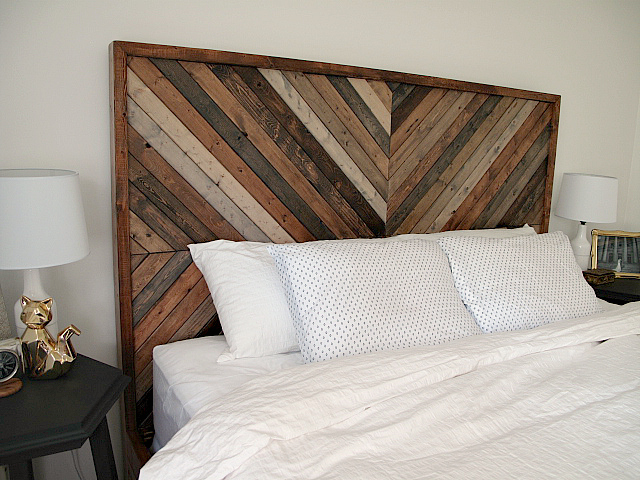
Look at this sassy betch!

Oh, she’s found a friend.
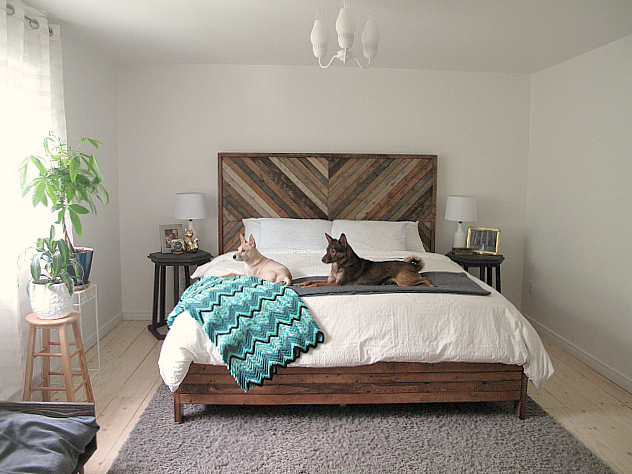
I’m so happy. Our bedroom is almost done! All it needs is some stuff on the walls (a gallery wall, mayhaps?) and then I can finally move on to the main level, where all the honey oak went to die. Stay tuned for the full bedroom makeover and some super exciting kitchen projects!



Wow - beautiful job, Allison! Your bed looks STUNNING! Your very first build is nothing short of amazing. Well done! xo Jen
Thanks, Jen! All I want to do now is build a bed for every room in my house. 😉
Well done Ally! You have many talents and your creations are amazing. Can’t wait to see it.